5 Best Collagen Rich Haircare Products That Can Revitalize Lifeless Hair

Best Collagen Rich Haircare Products

If your hair lacks shine, strength, and volume, they lack collagen that is an essential nutrient for your hair. But the good thing is that your body keeps producing collagen to nourish, support, and strengthen your hair. Also, you have the option to enrich your hair with collagen with the help of hair care products.

Why should I use collagen-rich products?

Collagen production decreases with age and reaches a point where hair strands start showing signs of fatigue. For example, hair fall and thinning of hair are all due to a lack of collagen. At this time, you can start using a hair care product that can enrich your hair strands with collagen.

Luckily many products have collagen and other nutrients. You can choose a collagen-rich product after going through its review.

Here we’re reviewing 5 best selling hair care products that contain collagen and other essential nutrients

Luseta Biotin & Collagen Hair Care Mask Products

Biotin and collagen hair treatment mask can fortify your hair and decrease thinning of hair and hair loss. Also, it has all the essential nutrients you need to hydrate, moisturize, repair, restore, and strengthen weak and damaged hair. It will promote the natural growth, shine, and manageability of your hair.

It contains essential vitamins and nutrients including argon oil that make this hair mask just perfect for all hair types including curly and permed hair. It will have a great moisturizing effect on your hair and scalp. The sweet almond oil present in the hair mask will seal the moisture that is crucial for healthy hair.

For treatment, you need to apply the hair mask on damp hair preferably after shampoo. Apply the mask gently on your hair and leave it for 5 minutes, then rinse thoroughly to get healthy and shiny hair. Use it weekly for best results.… Read More

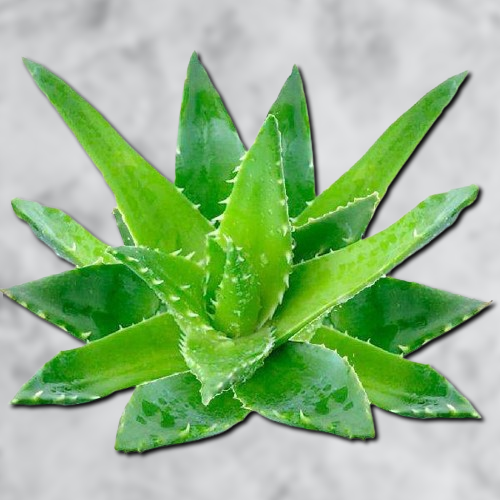
Little Known Benefits Of Aloe Vera

Benefits Of Aloe Vera

Aloe vera is widely used for healing sunburn and wounds. Also, it is good for treating skin and hair problems like acne, blemishes, hair fall and dandruff. But it is just the start of the health benefits of aloe vera. For example, aloe vera juice could be helpful in reducing constipation and weight and managing diabetes.

Advantages of aloe vera for different ailments

Constipation

Aloe vera is a natural laxative hence can speed up bowel movement to allow easy excretion of stool. Taking 2-3 tsp of aloe vera juice with same quantity of water empty stomach in morning is enough to ease constipation. 

Obesity

Aloe vera increases body metabolism resulting in quick weight loss. Taking 2-3 tsp of aloe vera juice with water in morning empty stomach for three months could give exciting results.

Diabetes Mellitus (Type 1&2)

Aloe vera helps in diabetes management by improving glucose and insulin level in the blood. Also, its antioxidant properties prevent cell damage associated with diabetes. Taking aloe vera juice with water in morning empty stomach can help control diabetes in a better way.

High Cholesterol

Aloe vera can reduce formation and accumulation of bad cholesterol and in this way prevent blockage of arteries in the long run. It contains phytosterols and other compounds like glucomannan, fructose and glucose that are helpful in cholesterol management.

Benefits Of Aloe Vera

Benefits Of Aloe Vera

HIV Infection

Aloe vera builds immunity and in this way help in fighting the HIV infection. A study on animals found that aloe vera builds white blood cells that fight infection. 

Cancer

Aloe vera can work like complimentary therapy in cancer treatment. It builds immunity by increasing number of white blood cells that could be helpful in controlling cancer cells. Also, it can minimize side effects of chemotherapy.

Depression

Aloe vera contains biochemical compounds that can help in diffusing stress and depression. 

Inflammatory Bowel Disease

Aloe vera juice can help ease IBD by improving digestion. But there is no scientific evidence to support this claim.

Precautions with aloe Read More

Kadi Patta Is Beneficial For Your Health, Skin And Hair

Benefits Of Kadi Patta

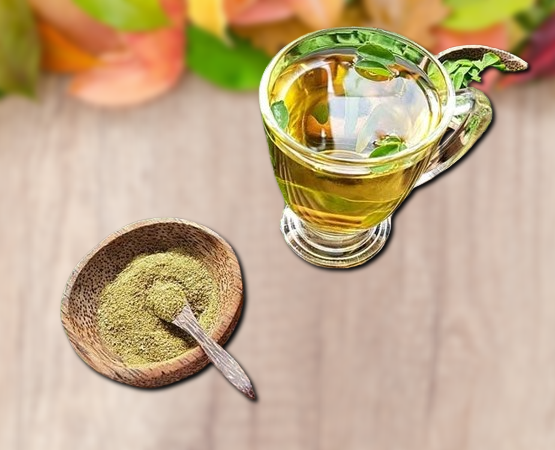
Kadi patta is widely used in curries, rice, snacks, chutneys and sauces for its aromatic flavour and you also get amazing health and beauty benefits with a distinctive aroma.

As an herb, kadi patta is helpful in controlling obesity, hypertension, indigestion, anaemia, diabetes, acne and hair loss. The aromatic kadi patta contains copper, magnesium, iron, calcium, phosphorus, fibre and carbs. Also, these leaves are a good source of vitamin A, B, C and E and amino acids.

Some important health benefits of kadi patta

Antioxidizing agent

Kadi patta can fight cell damaging free radicals as it has carbazole alkaloids, a compound that imparts antioxidizing, anti-bacterial and anti-inflammatory properties to the leaves.

Antiseptic

Kadi patta has alkaloids that have a curative effect on surface wounds, mild burns, boils and inflamed or itchy skin. Kadi patta can be grinded to make an antiseptic lotion for topical application.

Kadi patta benefits in weight loss

Kadi patta can help reduce excess fat and for this reason, obese people are advised to munch on these leaves or consume the leaves with their meals.

Diabetes check

Kadi patta has a sugar lowering effect due to rich mineral content that stimulate pancreas. Also, it protects insulin-producing cells in the pancreas from damage by free radicals.

Boosts memory

Kadi patta can sharpen memory by reducing the effects of amnesia or loss of memory.

Benefits Of Kadi Patta

Benefits Of Kadi Patta

Relieve morning sickness

The aromatic flavour of kadi patta increase digestive secretions that help relive nausea and vomiting

Kadi patta benefits in vision improvement

Kadi patta is rich in vitamin A that helps improve vision by the cornea.

Skin treatment

Kadi patta has anti-microbial properties that make it great for skin treatment. Also, it packs vitamin A and C that are super beneficial for a healthy skin.

Hair benefits

A mix of kadi patta and yogurt makes a great treatment for rough and damaged hair. Similarly, kadi patta paste made with mustard or coconut oil is good for strong hair. The paste can be applied to hair and scalp … Read More

Know How To Bleach Your Brows At Home

Bleach Your Brows At Home

Bleached brows are in trend and the good thing is that you can bleach your brows at home. Also, brow bleaching provides an opportunity to switch your hair color to blonde or platinum as you can lighten your eyebrows to blend with your new hair color.

Now you can consider lightening your brows so they work well with your makeup, jewelry, or dress. Simply prepare your brows for bleaching and go ahead with a quality product. And it won’t take you much time in bleaching your brows.

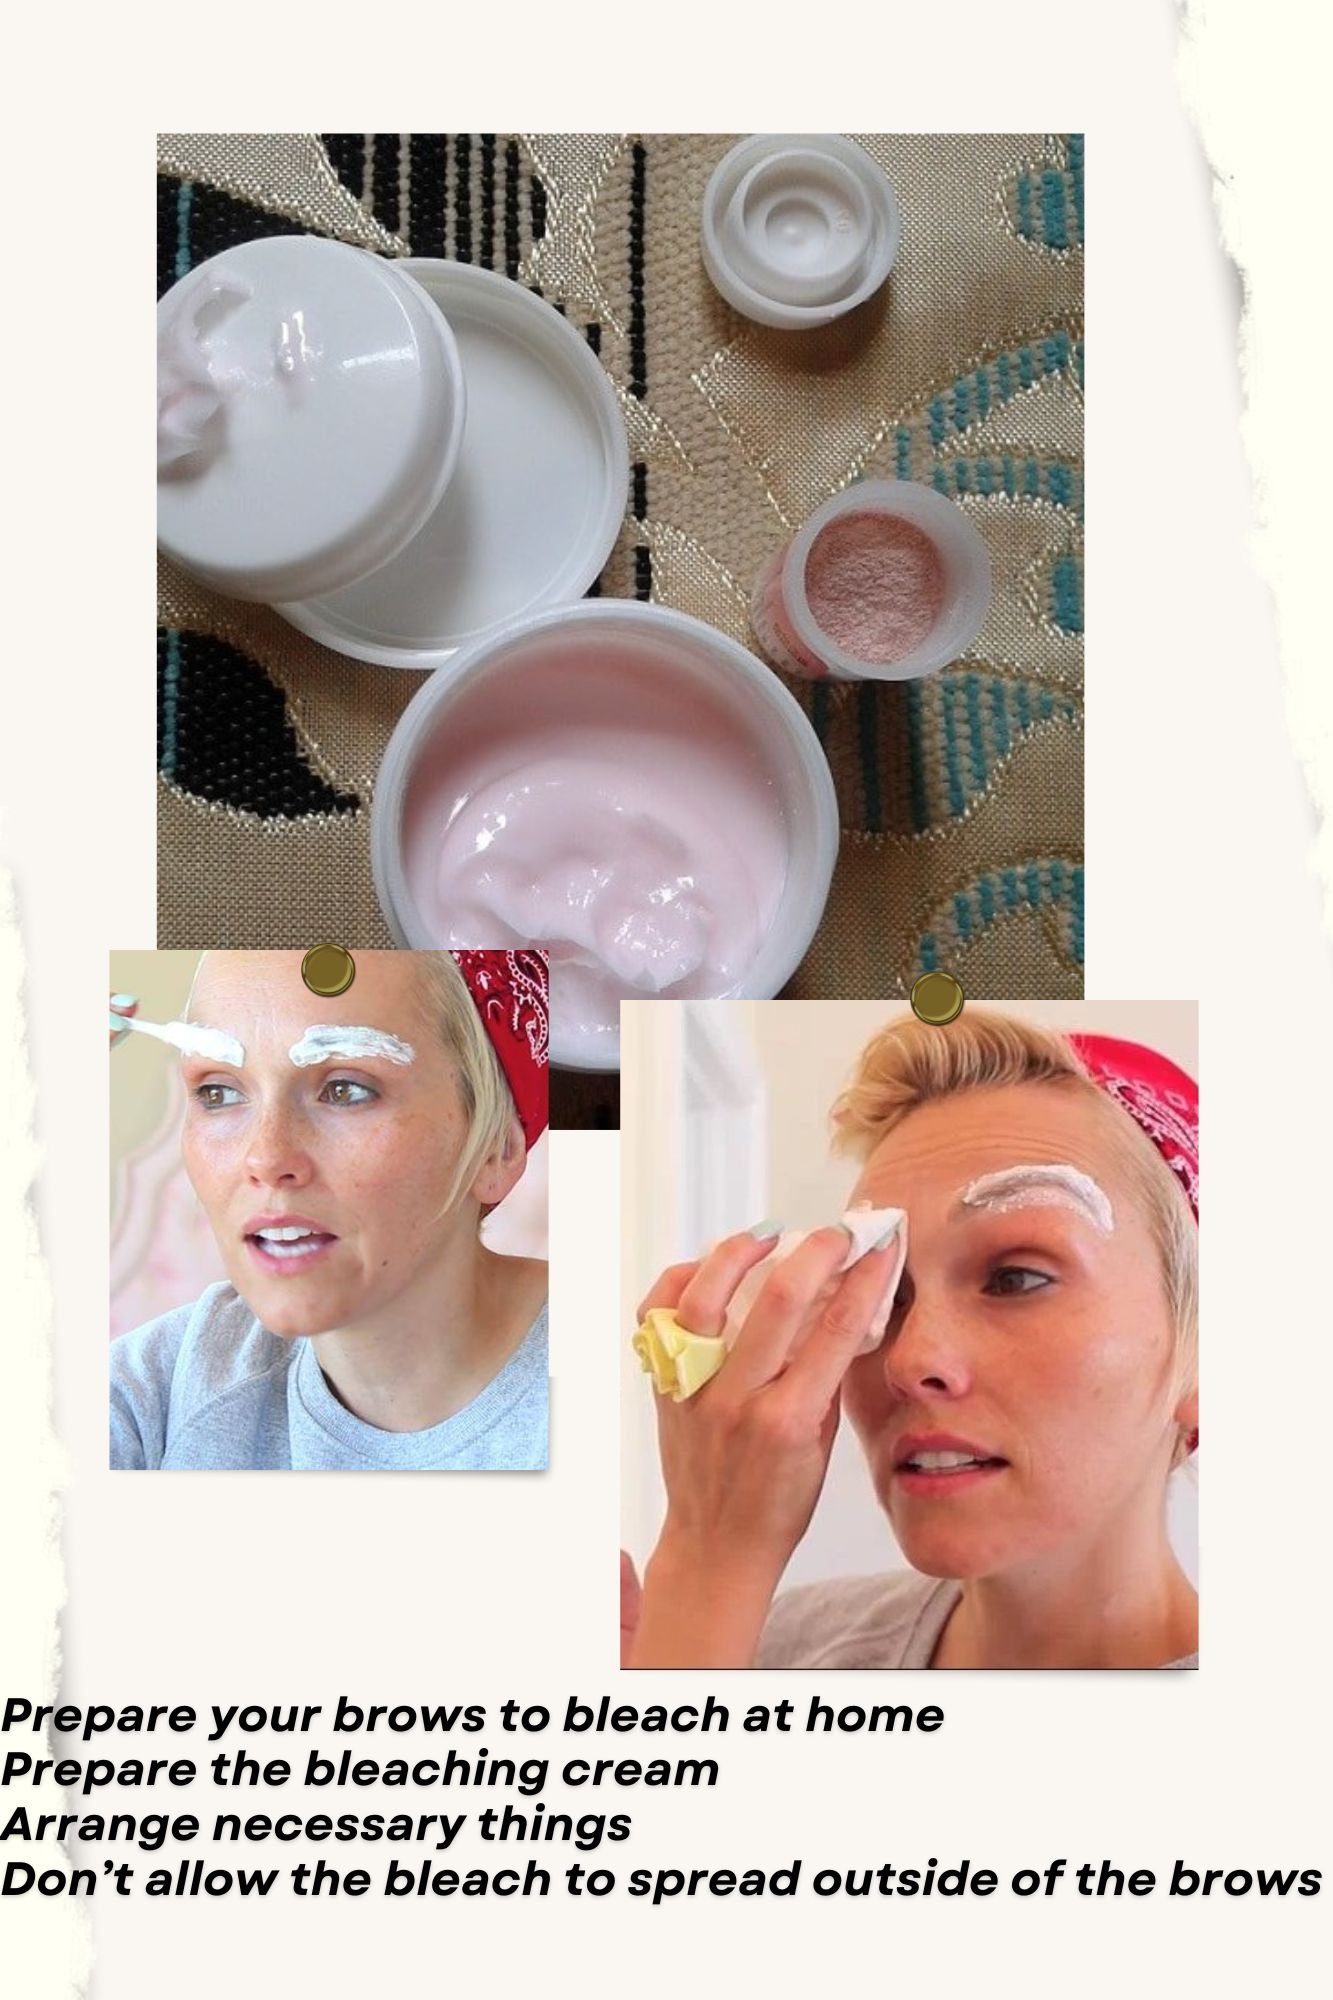
Prepare your brows for bleaching, make bleach, apply the bleaching cream, and wipe the cream to reveal the lightened brows.

Here’re the important steps to bleach brows at home

Prepare your brows to bleach at home

Have a close look at your brows to determine whether they need grooming. If they do, then start preparing your brows with grooming.

• Thread, wax, or pluck – choose the best way to remove the overgrown hair. And be careful so as not to deeply trim your brows.

• After grooming is done, you need to clean the brows to clean them of any traces of makeup or dirt and grime that could have stuck between the thick brows.

• Shampoo the brows and let them dry naturally.

• Groom your tresses as well to pull them back so they don’t interrupt the brow bleaching process.

Bleach Your Brows At Home

Bleach Your Brows At Home

Prepare the bleaching cream

The next big step in brow bleaching is preparing the cream. You have groomed, cleaned, and dried your brows before you bleach at home. Now they are ready to be bleached. It is time to prepare the bleaching cream and complete the process.

Arrange necessary things

  1. Get a bleach cream kit of your choice. Shop around to find
Read More

10 Effective Tips To Deal With Makeup Problem In Summer

Effective Tips To Deal With Makeup Problem In Summer

Summer isn’t the right time to wear makeup or it would be more appropriate to say that you need to change the way you wear makeup keeping the summer heat in mind.

As soon as you step outside, the hot sun will start baking your makeup. Skin produces excess sweat to cool off but the excess moisture could drain the layers of your makeup. Also, the melted makeup can enter your skin pores and create more problems.

Here’re 10 reliable ways of doing makeup in the summer time

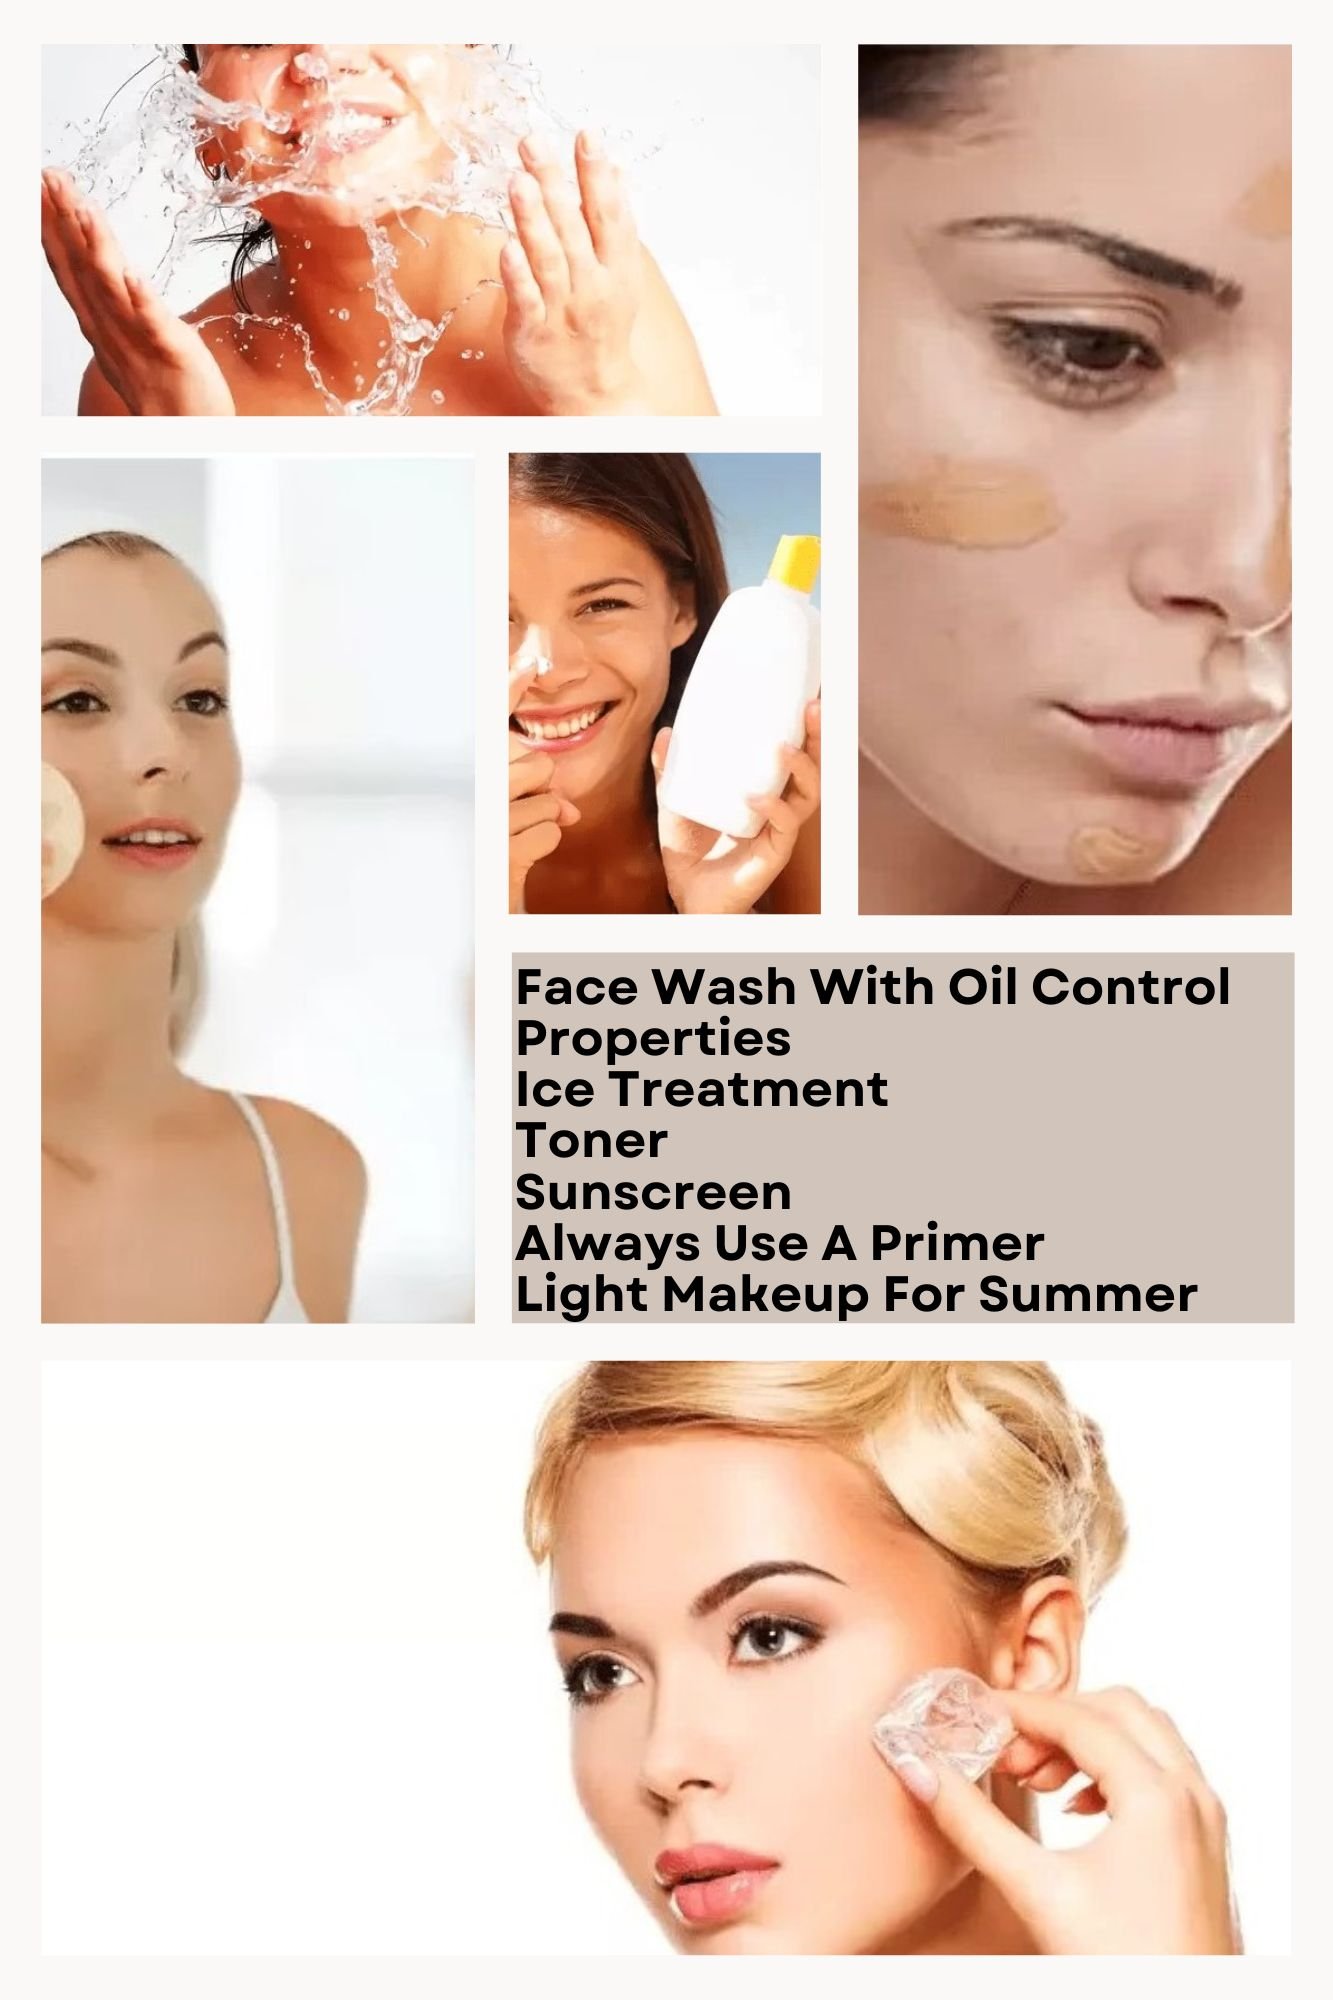
Face Wash With Oil Control Properties

Buy a face wash that can soak the excess oil with impurities and give your face a fresh look and feel. Also, it will tone up the skin cells. A cool sprinkle of a quality face wash followed by a pat dry session with a towel or tissue is sufficient to recharge your cells. Summer heat could be harsh on your face, but this simple formula can keep you fresh all day. Just a splash of a refreshing face wash is enough to rejuvenate your skin.

Ice Treatment

Grab an ice cube and start pampering your skin soft and tender facial skin with the cool stuff. You can use it directly but be careful so as not to irritate the capillaries in the skin. A cold touch isn’t good for delicate skin, but there is little harm in pampering your skin with an ice cube to prevent the meltdown of the makeup. A gentle massage for a couple of seconds is sufficient to close the large pores and prevent the makeup from melting. Pat-dry your skin after the treatment.

Effective Tips To Deal With Makeup Problem In Summer

Effective Tips To Deal With Makeup Problem In Summer

Toner

Applying a quality toner to your facial skin up to the neck area is sufficient to rejuvenate your tired skin. And you can use a … Read More

Tips For Safer Sensitive Eye Makeup

Tips For Safer Sensitive Eye Makeup

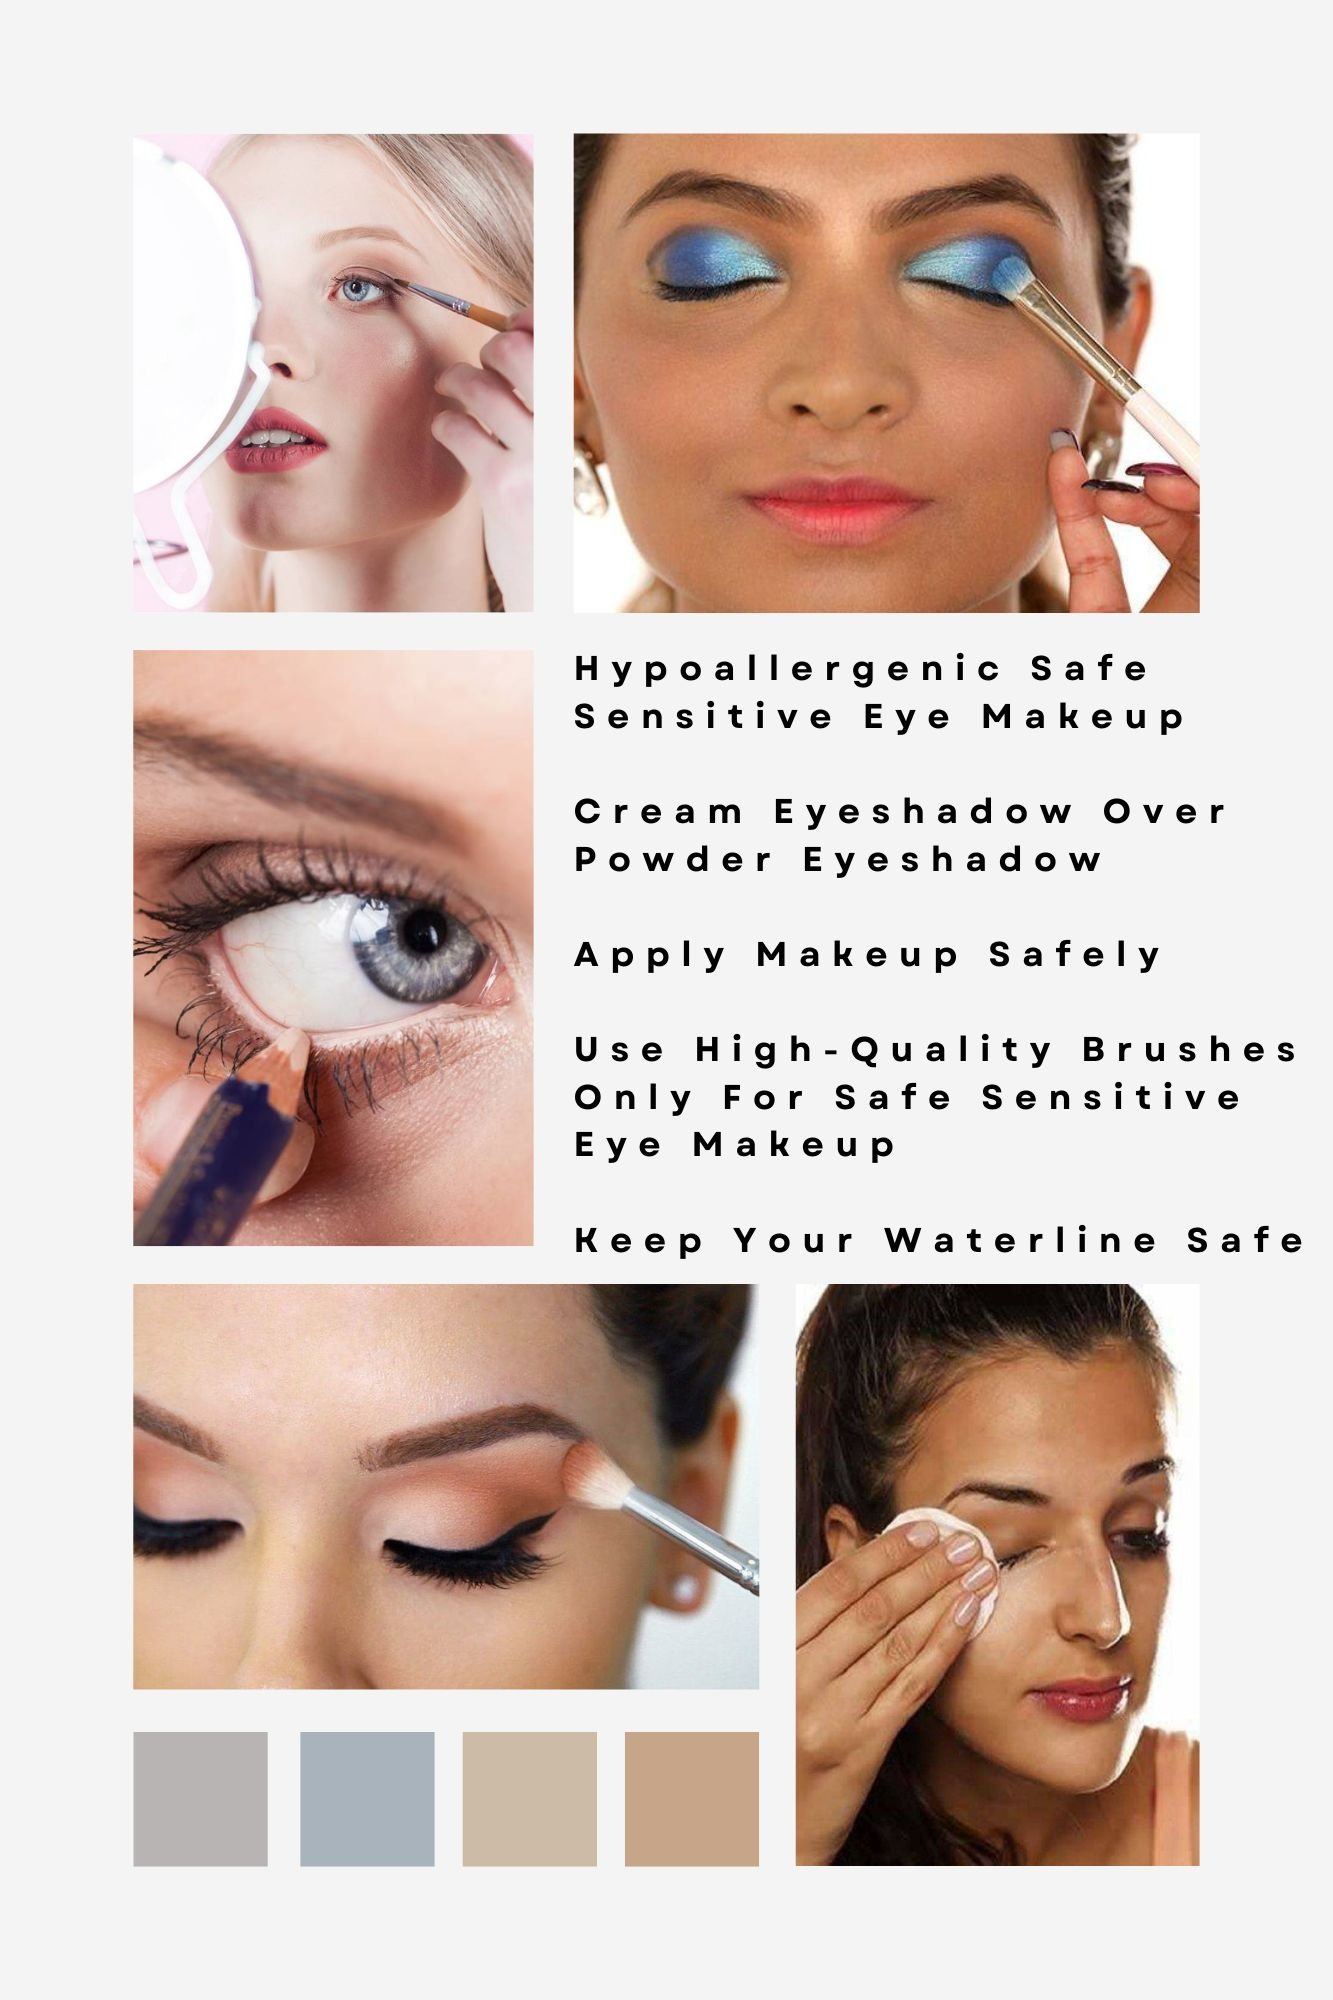
Eye sensitivity is a common problem but there is little need to worry about it as you can still do safe sensitive makeup without facing an allergic situation like irritation and watery eyes. First thing is to know what causes allergies to your eyes and second thing is to buy cosmetics that are safe for your eyes.

Also, you need to keep some tips and tricks in mind that can help wear eye makeup without any allergic reaction. But before you proceed, you should get an education on eye sensitivity.

What Is Eye Sensitivity?

Eye sensitivity is an allergy to foreign products including makeup products. Whenever you touch the areas around your eyes with cosmetics, you feel irritation in the eyes. It is called contact dermatitis. It could be due to an underlying skin condition or you could develop sensitivity to cosmetics over time.

Types of contact dermatitis

Eye sensitivity or contact dermatitis can be classified into allergic and irritant categories depending upon their causes. The classification helps in understanding eye sensitivity.

Allergic Contact Dermatitis: If you are allergic to certain products and those products are included in your cosmetics, you will develop allergic contact dermatitis. As a result, your eyes will become red and itchy. In severe cases, your eyes could swell and you could develop hives.

Irritant Contact Dermatitis: This condition develops when you use a certain type of makeup product for a long time. It means you will have an allergy to the cosmetics that you have been using for a long. And the common symptoms of this condition are burning of eyes, stinging sensation, and itching. In severe cases, you could have blisters around your eyes.

Eye sensitivity is always associated with makeup products and you should know which products can cause allergies. While your skin can show symptoms to prove allergies to … Read More

Beginner’s Guide For Halo Eye Makeup

Beginner’s Guide For Halo Eye Makeup

Eyes speak a lot and for this reason, the first thing you see are eyes. Also, eyes need special attention during makeup for a similar reason. And there are many eye makeup tutorial for beginners to improve the eyes.

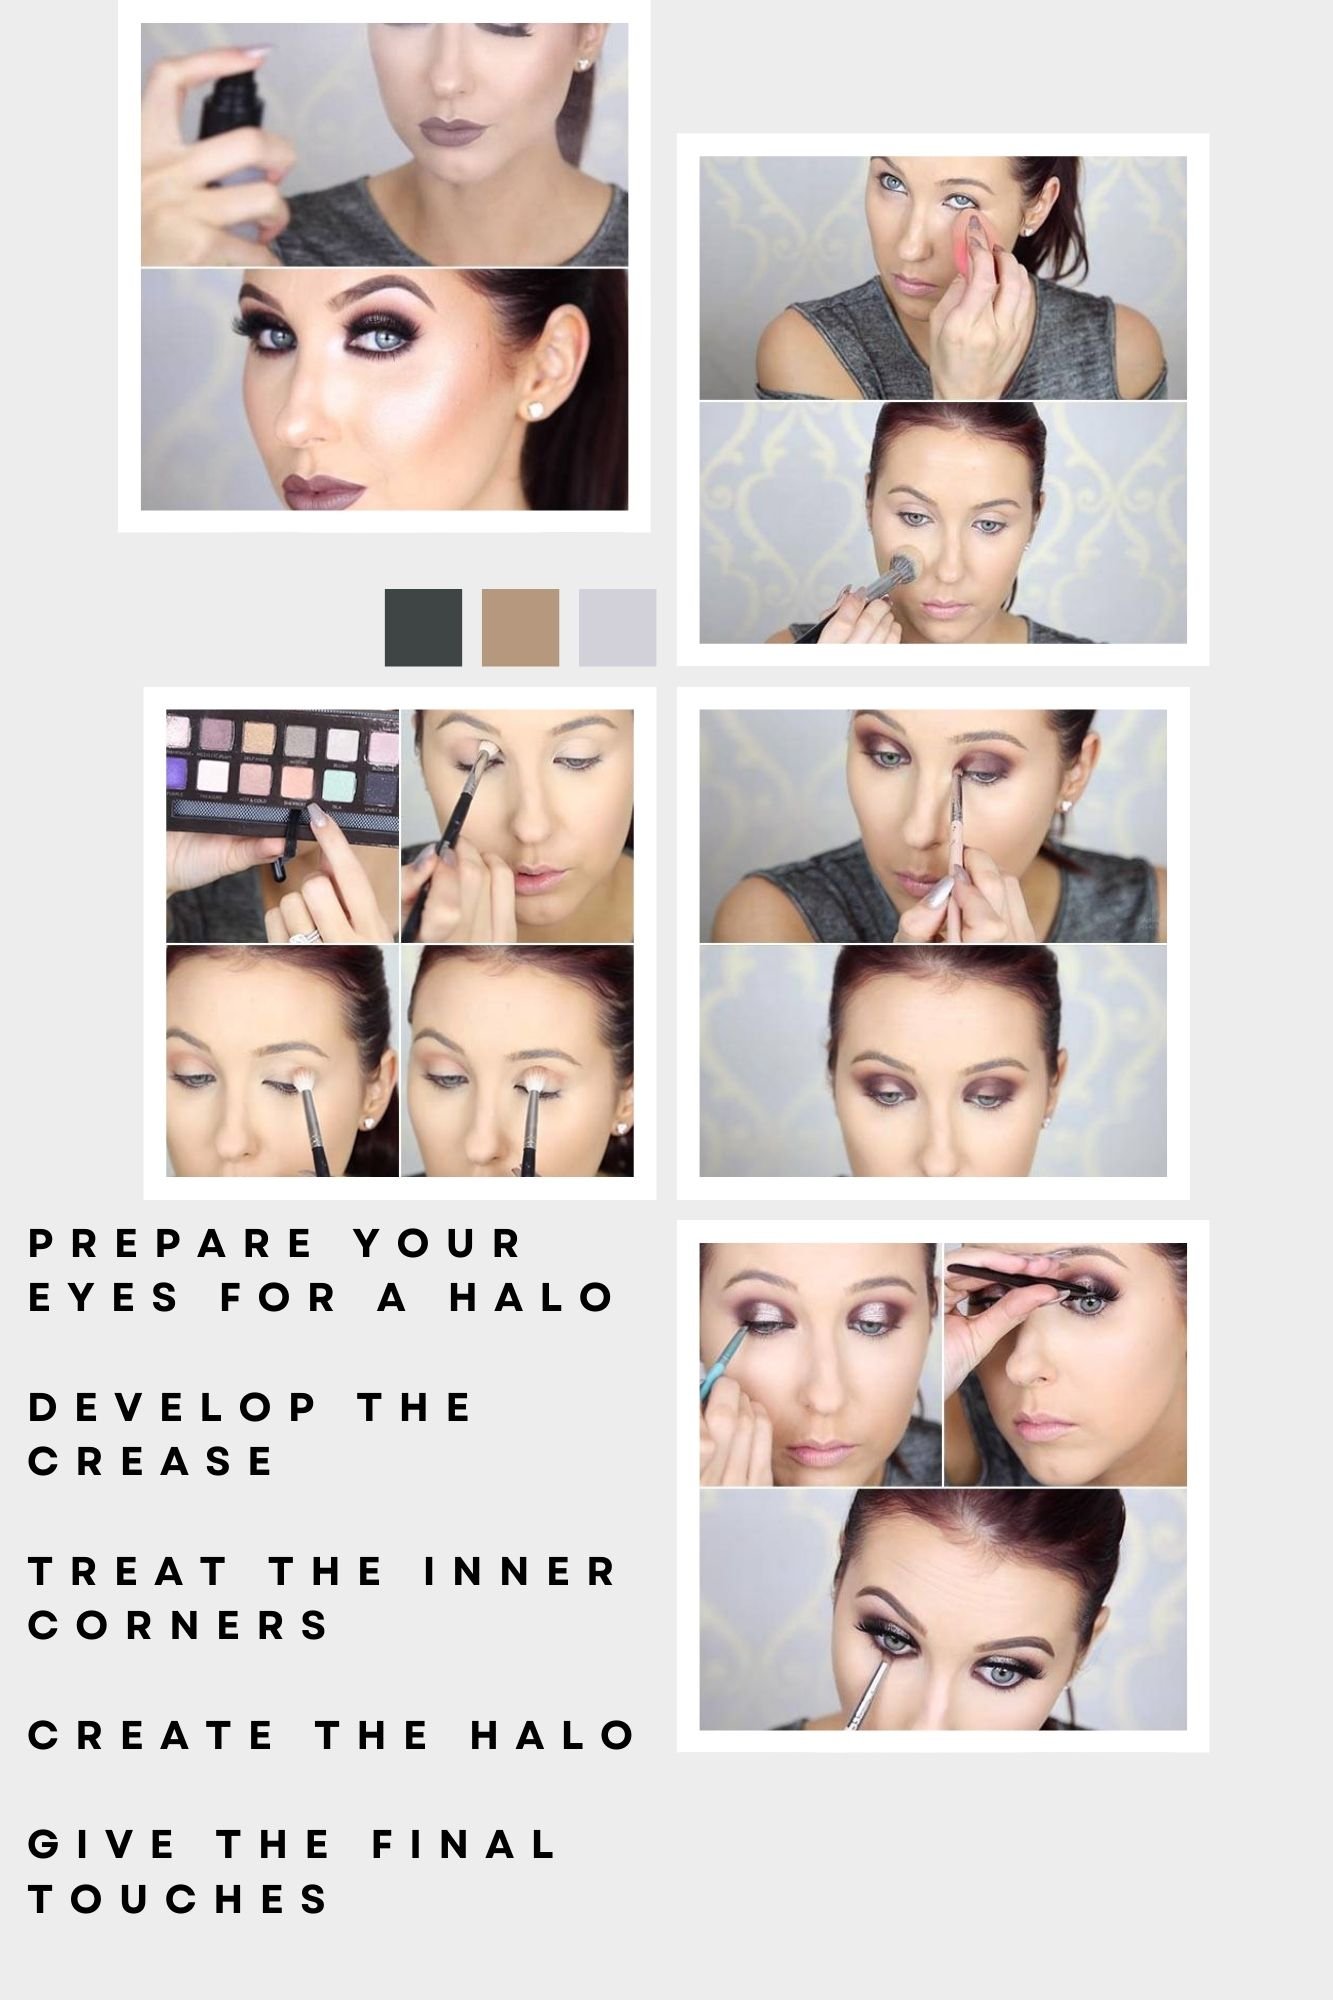
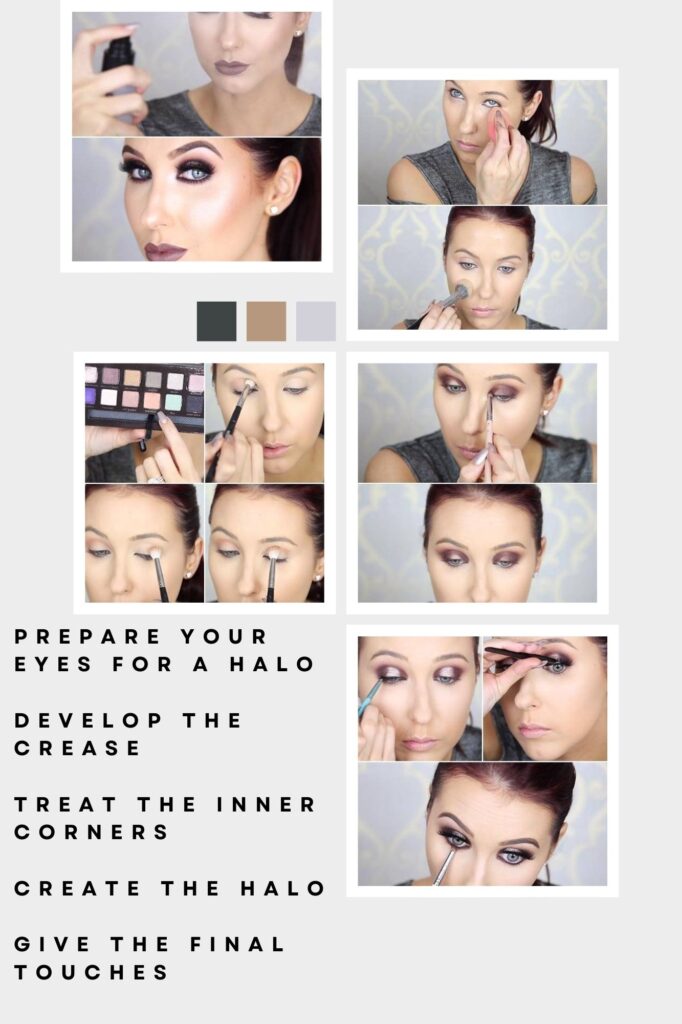
For example, you can groom your eyebrows, add more lashes to your eyes, or make a halo in each eye. For the halo, you will need to work on your eyes. You need to do primer, eyeshadow, and then glitter to create a halo. While it isn’t a difficult job, but you will need some tools and training.

Here’re the makeup tutorial for beginners & things you need to creating halos around your eyes

• Brushes – Long, Short, and Angled
• Eyeshadow Palette
• Concealer
• Brow Pencil
• False Eyelashes
• Gel Eyeliner

Quickly grab the said items and get ready to give your eyes halos. The job has to be done in steps and every step is important. Also, the level of challenge will increase with each step in eye makeup tutorial for beginners. One more thing is that you need to remove all spots and blemishes from your face that could distract the attention of viewers from your eyes.

A brief introduction

To get eye halo makeup, you need to create a background for the halo and then create the halo effect with glitter. Hide your dark circles, if you have circles under your eyes. Also, fine-tune your lashes, or get ready to wear mascara. And don’t forget to groom your eyebrows as they could play a spoiler at the end.

Beginner’s Guide For Halo Eye Makeup

Beginner’s Guide For Halo Eye Makeup

Step 1: Prepare Your Eyes For A Halo

Eyes can tell the truth if your mouth doesn’t. So, you should start fresh. Get a clean face with a wave of cleansing, toning, and moisturizing, so your eyes don’t look tired. Look at your face, it looks fresh, you can start by applying a primer to eyelids.

People with dark circles under their eyes should first dilute the circles with Read More

How To Get The Perfect Sun-Kissed Look With A Bronzer?

Get The Perfect Sun-Kissed Look With A Bronzer

Longing for a celebrity-style sun kissed makeup look & glow over your face. If yes, then take a bronzer and apply it to the areas where the sun would naturally touch your face. But avoid applying the bronzer all over your face as it will make it appear muddy.

Reasons For Using A Bronzer

While contouring would highlight your facial features, a bronzer a little warmth and glow to those features. Since you will apply bronzer on the areas where then the sun would naturally touch, your face will get a sun-kissed glow. Also, it will make your skin appear healthier. And you can use it all year.

While for some, using a bronzer is a summer trend, but little do they know that a little bronzer on their faces could be a massive game-changer.

Do you know how to apply a bronzer?

Proper application with the right tools could give you a sun-kissed glow within moments. And a little mistake in choosing the right color of the bronzer and applying it all over your face could spoil your look.

You simply go on applying a bronzer of any color on your face as there is a set procedure for using a bronzer. And the process starts with cleaning the face and then preparing your skin to accept a bronzer. Also, you shouldn’t use a darker shade as it will look unnatural.

First, know the cosmetics and tools you need to apply a bronzer for sun kissed makeup look

• Foundation
• Concealer
• Powder
• Makeup Brushes
• Bronzer
• Highlighter
• Blush

Get The Perfect Sun-Kissed Look With A Bronzer

Get The Perfect Sun-Kissed Look With A Bronzer

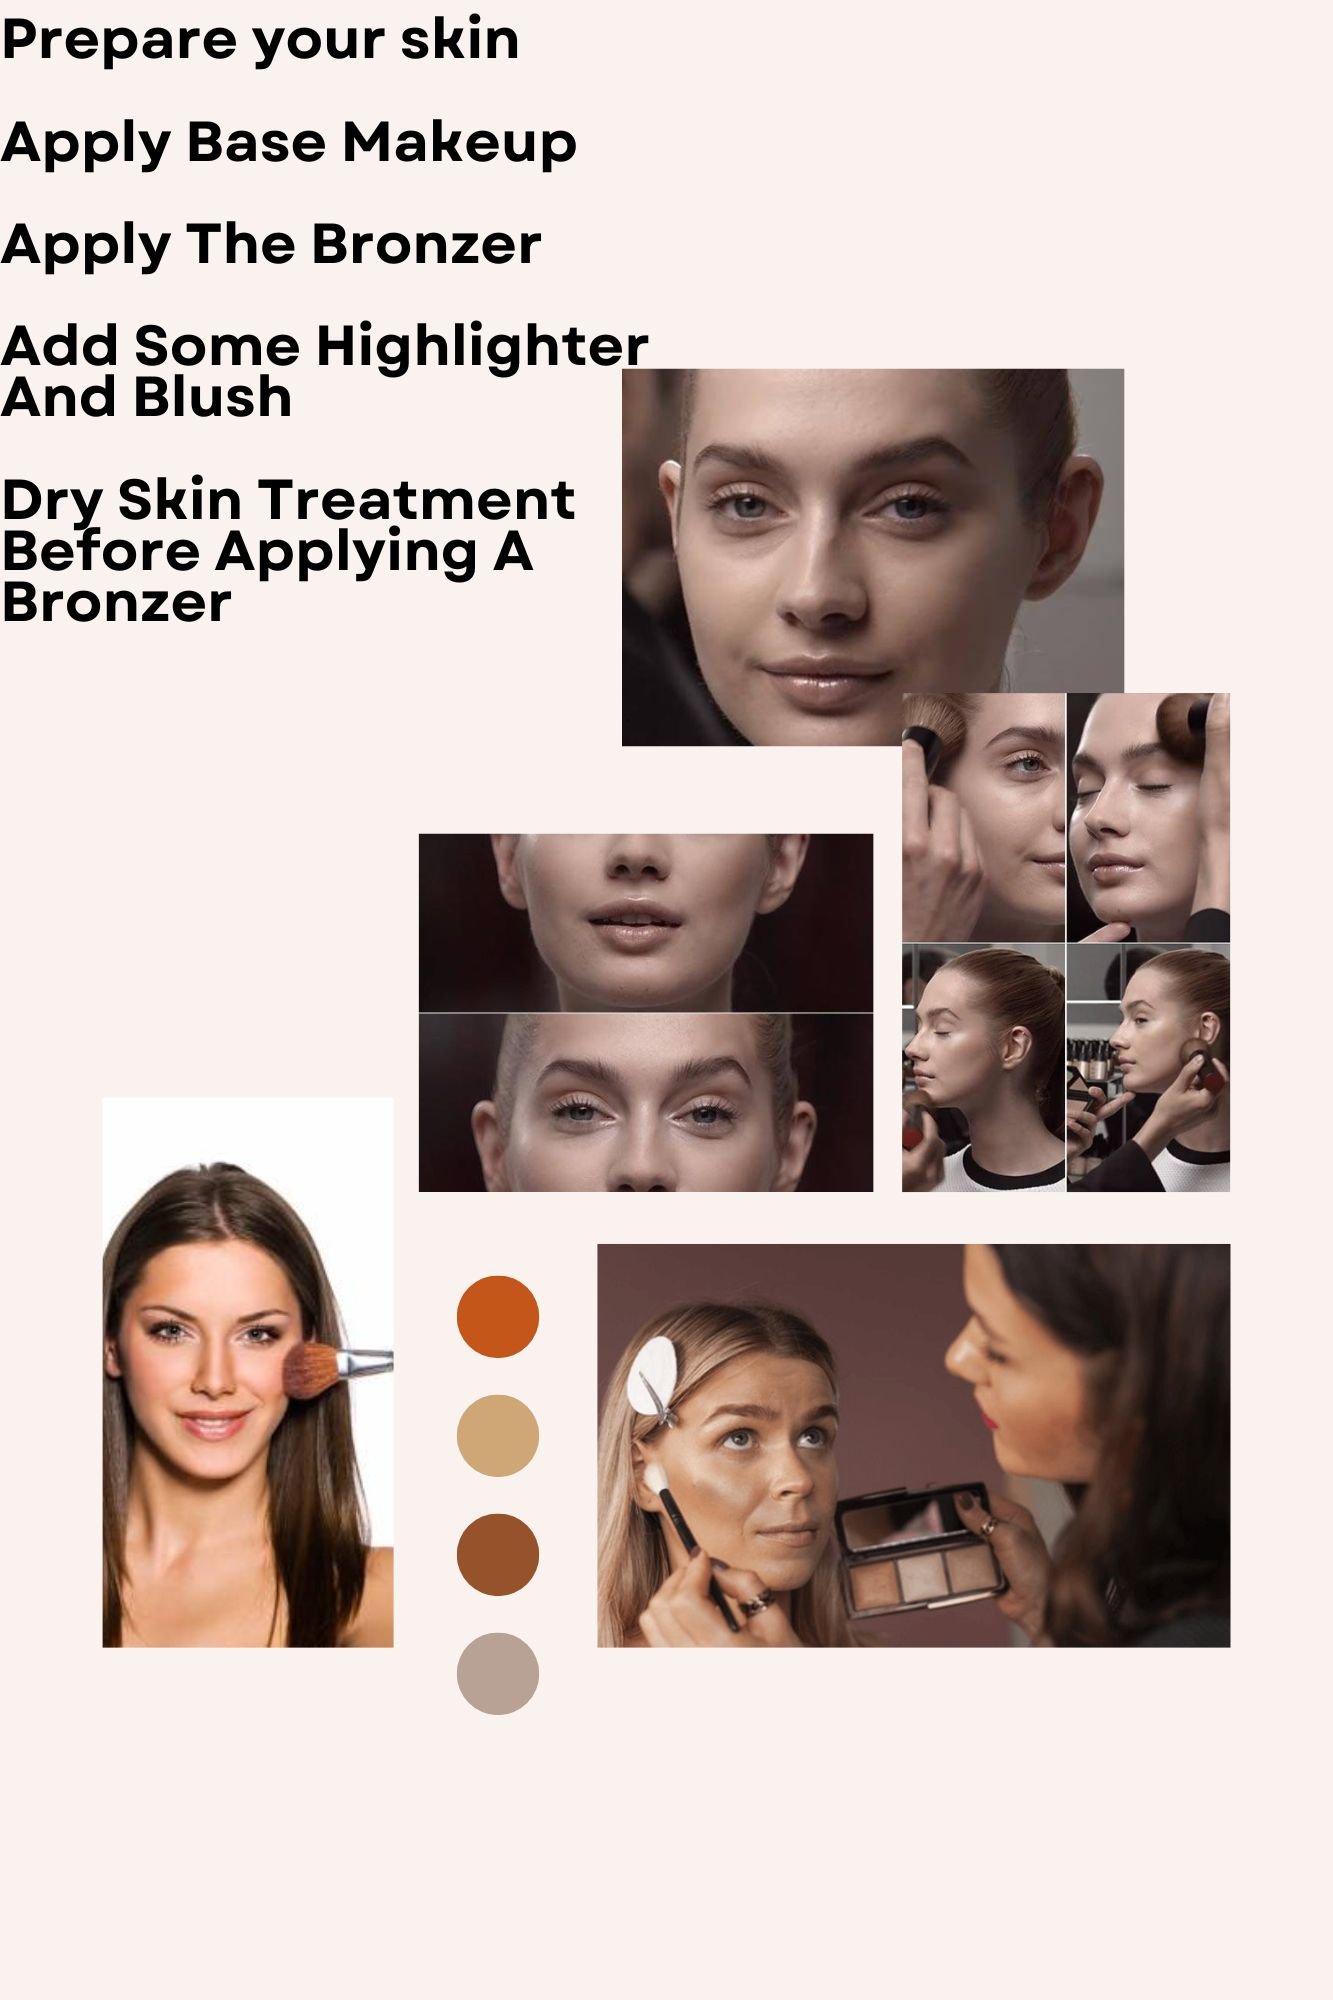
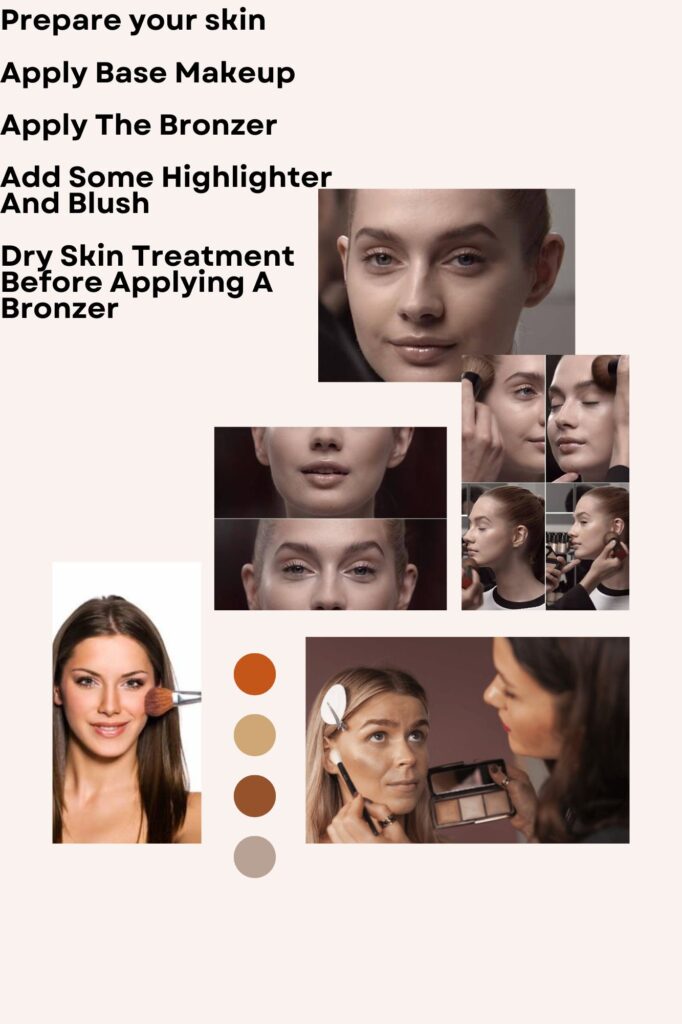
Apply a bronzer in the following steps for sun kissed makeup look:

  1. Prepare your skin

It is better to start with a clean face with no dirt, dust, excess oil, and pollutants. Clean your face well to get the sun-kissed look you are … Read More

Remove White Facial Hair In 9 Ways

Best Ways Of Facial Hair Removal

Are you worried about the growth of white hair strands over your upper lip or chin and don’t know how to get rid of those unwanted hair strands? If yes then keep reading as this blog is about facial hair removal.

There is little need to go into the reasons for the growth of white hair on your face, but you should know how to remove them safely. Also, the hair removal process should be painless and long-lasting.

Here are 9 ways of facial hair removal

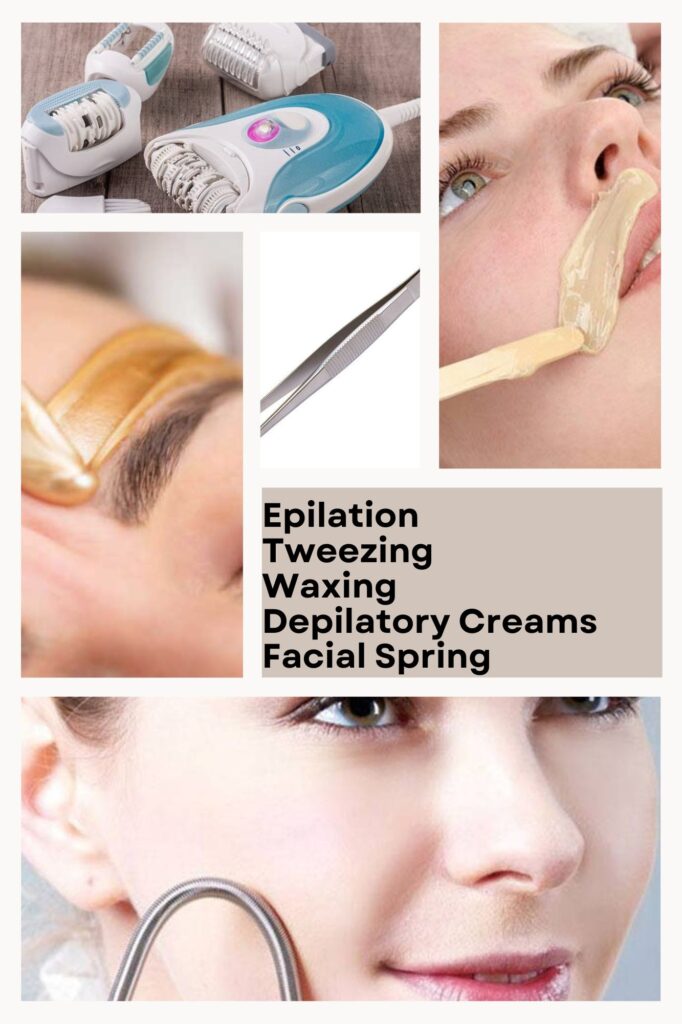
Epilation

An epilator is an electric hair remover that removes white hair from its root. While it pulls out hair, it isn’t painful. On the contrary, it is more convenient than waxing. Also, it is more effective than shaving white facial hair.

How To:

• Soften your facial hair with lukewarm water
• Apply moisturizer to the area where you want to use the epilator
Glide the epilator in the opposite direction of the hair growth
• Rinse off your face and pat dry

Note: Epilation works on the hair of the size of ¼ of an inch.

Tweezing

Tweezing white hair is a manual process of unwanted & white facial hair removal. It is slightly painful, but you can go slow to reduce the pain. Its advantage is that it provides relief from white hair for at least 4-8 weeks.

How To:

• Get a pair of tweezers made of stainless steel
• Sanitize the device with isopropyl alcohol
• Or sterilize the pair of tweezers in hot water
• Start plucking your white hair one by one

Note: It is a slow process hence suitable only for removing a few strands.

Best Ways Of Facial Hair Removal

Best Ways Of Facial Hair Removal

Waxing

The waxing process works similarly everywhere. Just like you wax your armpit, you need to wax your white facial hair and remove them. While it is a painful process, waxing regularly could reduce the growth of white Read More

10 Corepower Yoga Poses To Begin With:

Corepower yoga poses power athletes. You can also practice yoga to get the power to lead an active life. Whether you sit for long hours or drive long distances, you need power to maintain a fine balance between your work and health. With yoga, you can correct the negative effects of prolonged sitting, driving, standing, and doing all types of jobs.

Corepower Yoga Poses

Here are 10 poses you can begin your corepower yoga with

Dancers Pose

Dancers Pose

Corepower yoga poses are for everyone including beginners. The dancer’s pose opens the chest and increases lung capacity.

How To:

  • Stand straight with your feet joined
  • Flex your left knee and hold the left foot with your left hand
  • Stretch your left foot with your left hand
  • Also, raise your right hand to the ceiling
  • Maintain the pose for 5-10 breaths before switching side

Pyramid Corepower Yoga Poses

Pyramid Pose

Some corepower yoga poses provide multiple advantages and the pyramid pose is one of them. It combines the benefits of three movements – forward bending, backward bending, and balancing.

How To:

  • Stand straight with your feet hip-width apart
  • Turn to your right and take two steps with your right foot
  • Bend down and reach your hands to your right foot
  • Touch the floor and maintain the pose for 5-10 slow breaths
  • Switch side

Triangle Pose

Triangle Pose

Corepower yoga poses are popular because they work for the entire body. For example, take the triangle pose strengthens the leg and back and stretches the inner thighs, calves, shoulders, and chest.

How To:

  • Stand straight with your legs shoulder-width apart
  • Extend your right leg while keeping the left leg straight
  • Raise your left hand straight to the ceiling
  • Bend your torso to your right and reach your right hand to the mat
  • Hold it for 5-10 slow breaths before switching side

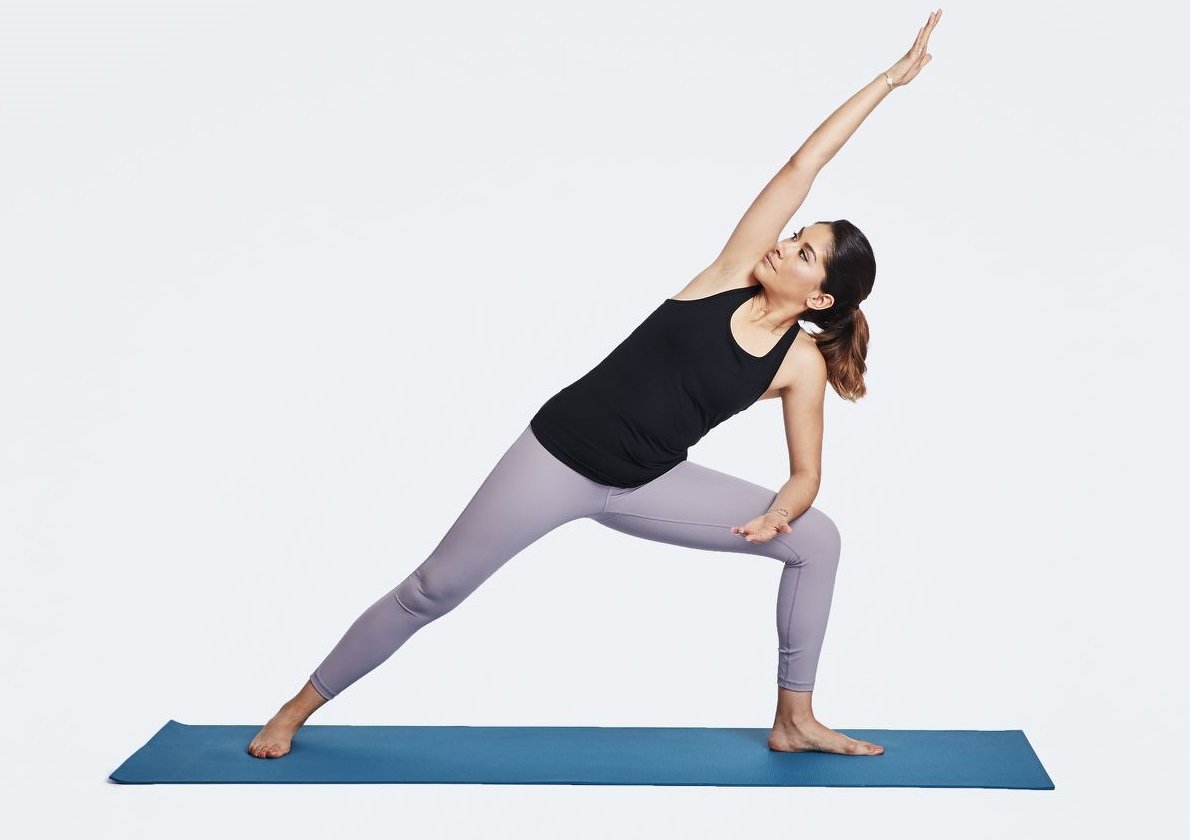
Extended Side Angle

Extended Side Angle

Extended side angle is one of the few corepower yoga poses that can provide fast relief from the stiffness in the shoulders or back.… Read More