How To Choose Best Hair Brushes According To Hair-Type

Best Hair Brushes According To Hair-Type

Just like your skin hair are also essential, after all, they are stars of our personality. But sometimes we neglect hair issues because of busy schedules and sometimes we neglect them. Besides spending money in saloons and taking supplements, it is important to look at what type of hair brushes we are using to give best hair appearance.

While choosing a hairbrush for hair it is a must to look for some important aspects that can help you to enjoy best hair appearance. Choosing the wrong hairbrush can easily damage your hair roots and start hair fall. If you are troubling with these hair issues then change your hairbrush according to hair type right now.

Let’s discuss some best hair brushes according to hair types..

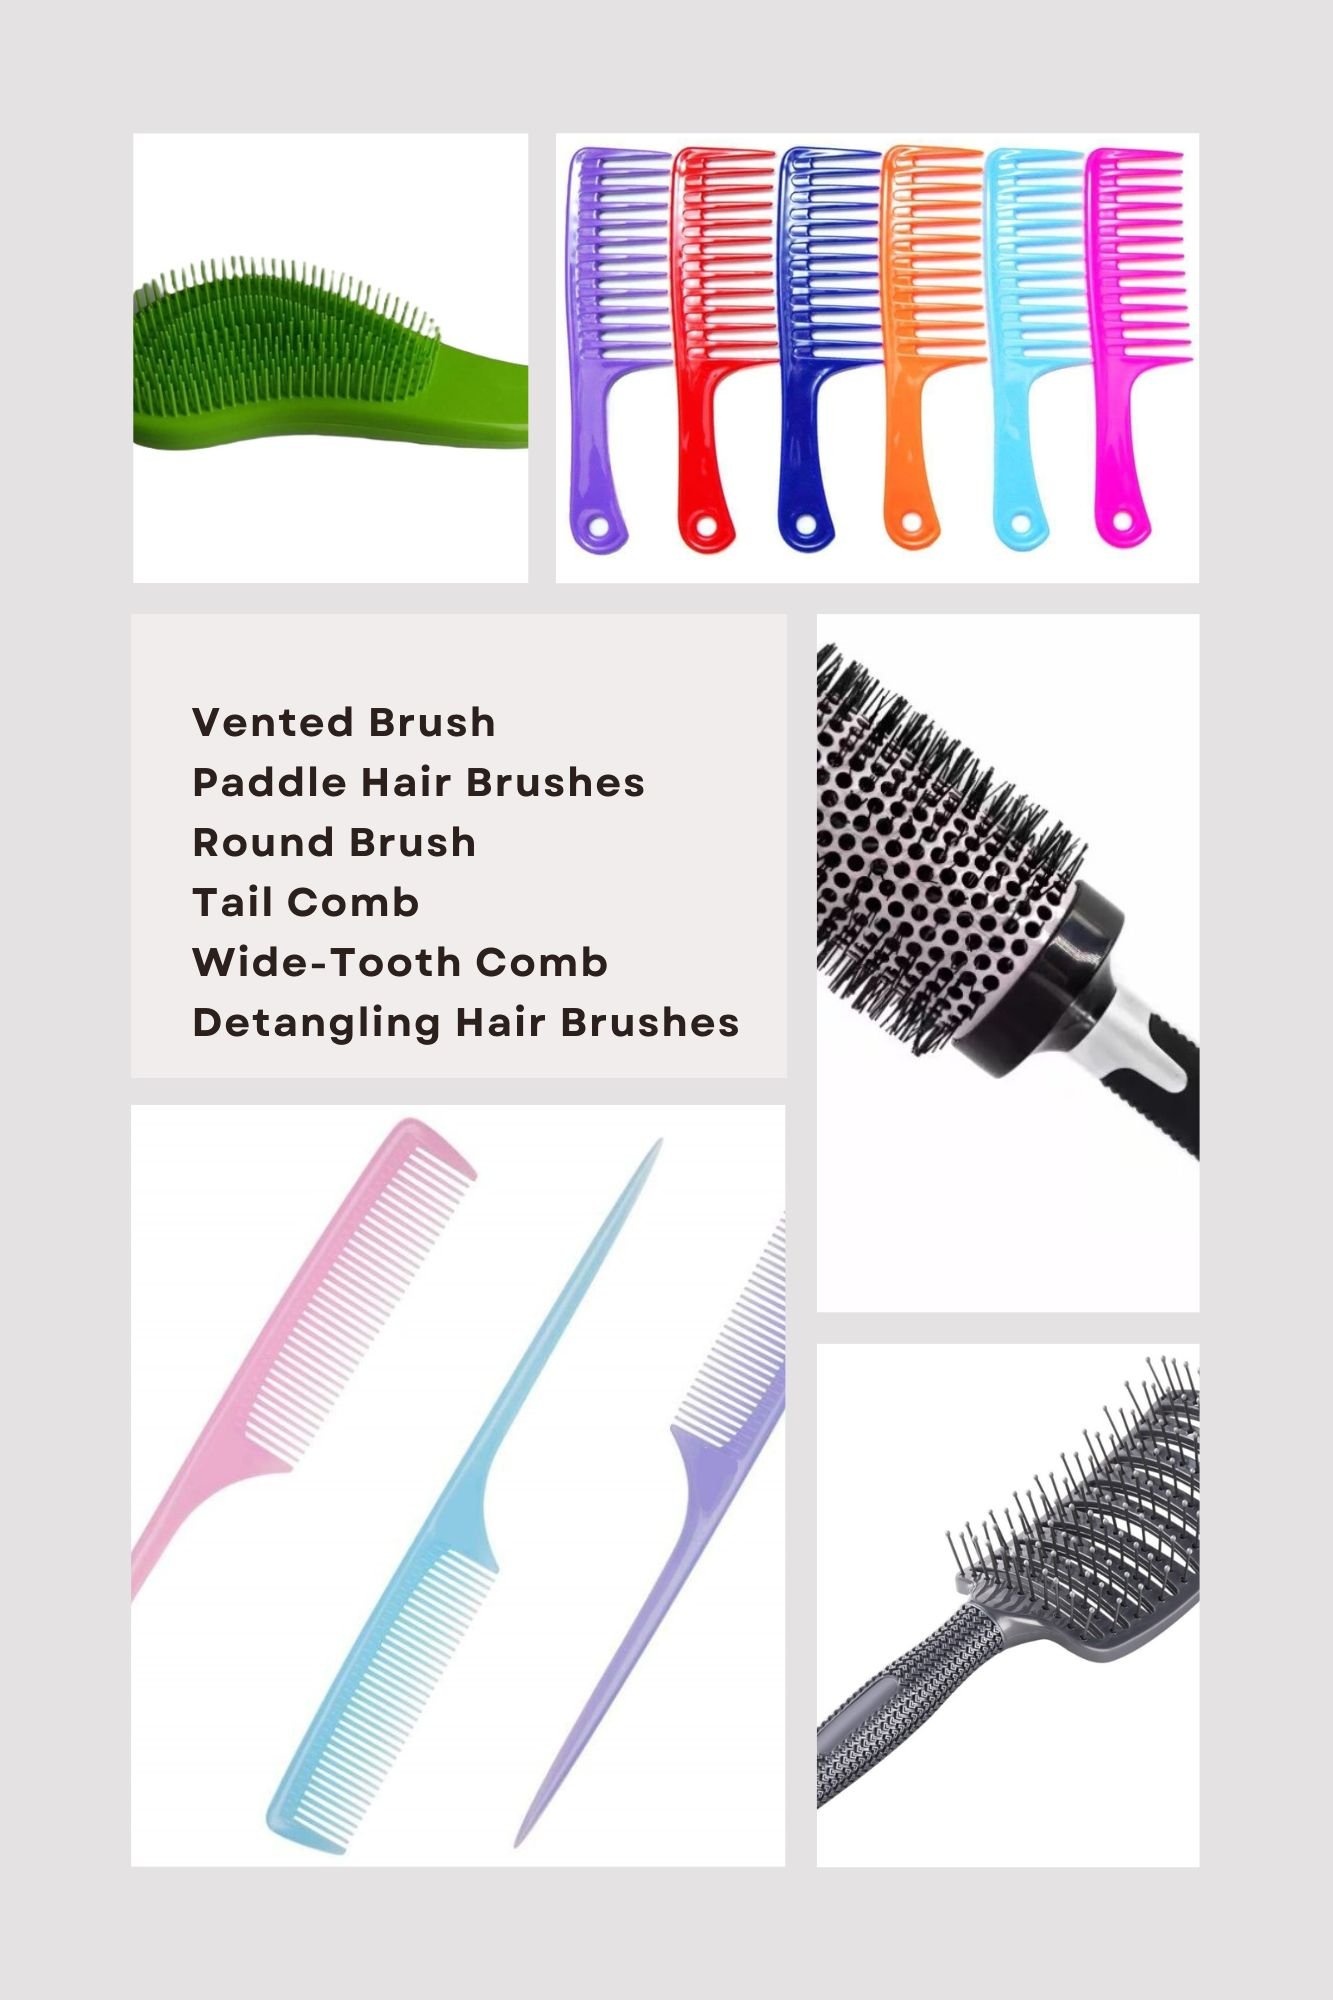
Detangling Hair Brushes

If you are using a brush just after washing your hair, then detangling is perfect to add. With this brush, you can easily get smooth hair along with frizz-free hair. This brush is perfect for all kinds of hair types.

Wide-Tooth Comb

A wide-tooth comb is perfect for heavy hair. This comb can be perfect to detangle and comb your wet hair even dry without breakage. It is also perfect for all hair types and mostly recommends by hair professionals.

Best Hair Brushes According To Hair-Type

Best Hair Brushes According To Hair-Type

Tail Comb

This comb is used to separate the layers of hair in equal parts without affecting hair quality and smoothen them out. Most of the saloon uses this rat tail comb for doing hair treatments as well as hair styling.

If you just want to add easy curls whether inner or outer, round brush is just perfect to enjoy saloon-style finish at home. Just take dryer and round brush to add bounce and curl in your hair.

Paddle Hair Brushes

For long hair paddle brush is perfect to … Read More

Do Not Wash Your Hair Frequently If Your Hair Type Is Curly & Frizzy!!

Best Hair Care Tips

Tell me first, how often you washed your hair? Regularly or in intervals? Well, finding out the best hair wash for your hair is quite daunting. If you’re washing hair frequently then it causes dryness especially when you are using extreme chemical-based shampoo. At Review mentor, we have given the best tricks and tip to care for your hair in this post.

Stop washing enough. Just like your skin you have to care for hair as well. While our studies, we have also found some girls are likely to wash hair daily without affecting the quality of hair. So what should you do?

So, let us explore best hair care tip!

1. Does hair types matter?

Yes! That is the reason why girls feel a difference in their hair quality as well as. You may do not aware that there are different products available for different hair types. If you want to enjoy long, shiny, soft, and beautiful hair then pick out the best shampoo for hair type. Curly hair often takes time to get dirties as compared to other hair types like silky.

2. Hair Care Tip For Poor Lifestyle

The kind of lifestyle you are taking also affect the quality of hair. It is a fact that usually ignored because no one has enough time to think about their health. I am sure you are also one of them. Blow drying, regular straitening, various products, and much more damage the hair quality. This mainly clog pores, creates dehydration and sweat, etc.

Ensure you are using less of products and styling of hair. Thus it will maintain your hair quality and you’ll enjoy the best results.

3. So, how often you wash your hair?

If you have dry hair then washing 2 times in a week is enough or if you have oily hairRead More

7 Ways To Treat A Smelly Scalp

Treat A Smelly Scalp

Does your scalp smell bad? If yes then this blog is for you for the smelly scalp treatment. First, you should know the reason for the bad smell. If you don’t wash your hair, the scalp will smell bad. Or excessive sweating could be a reason for a smelly scalp. Also, environmental pollution, hormonal changes, and medical reasons could cause a smelly scalp.

The second thing is to know how to cure a smelly scalp and the good thing is that you can easily cure your smelly scalp at home.

Here’re some reliable treatment options and tips for treating a smelly scalp

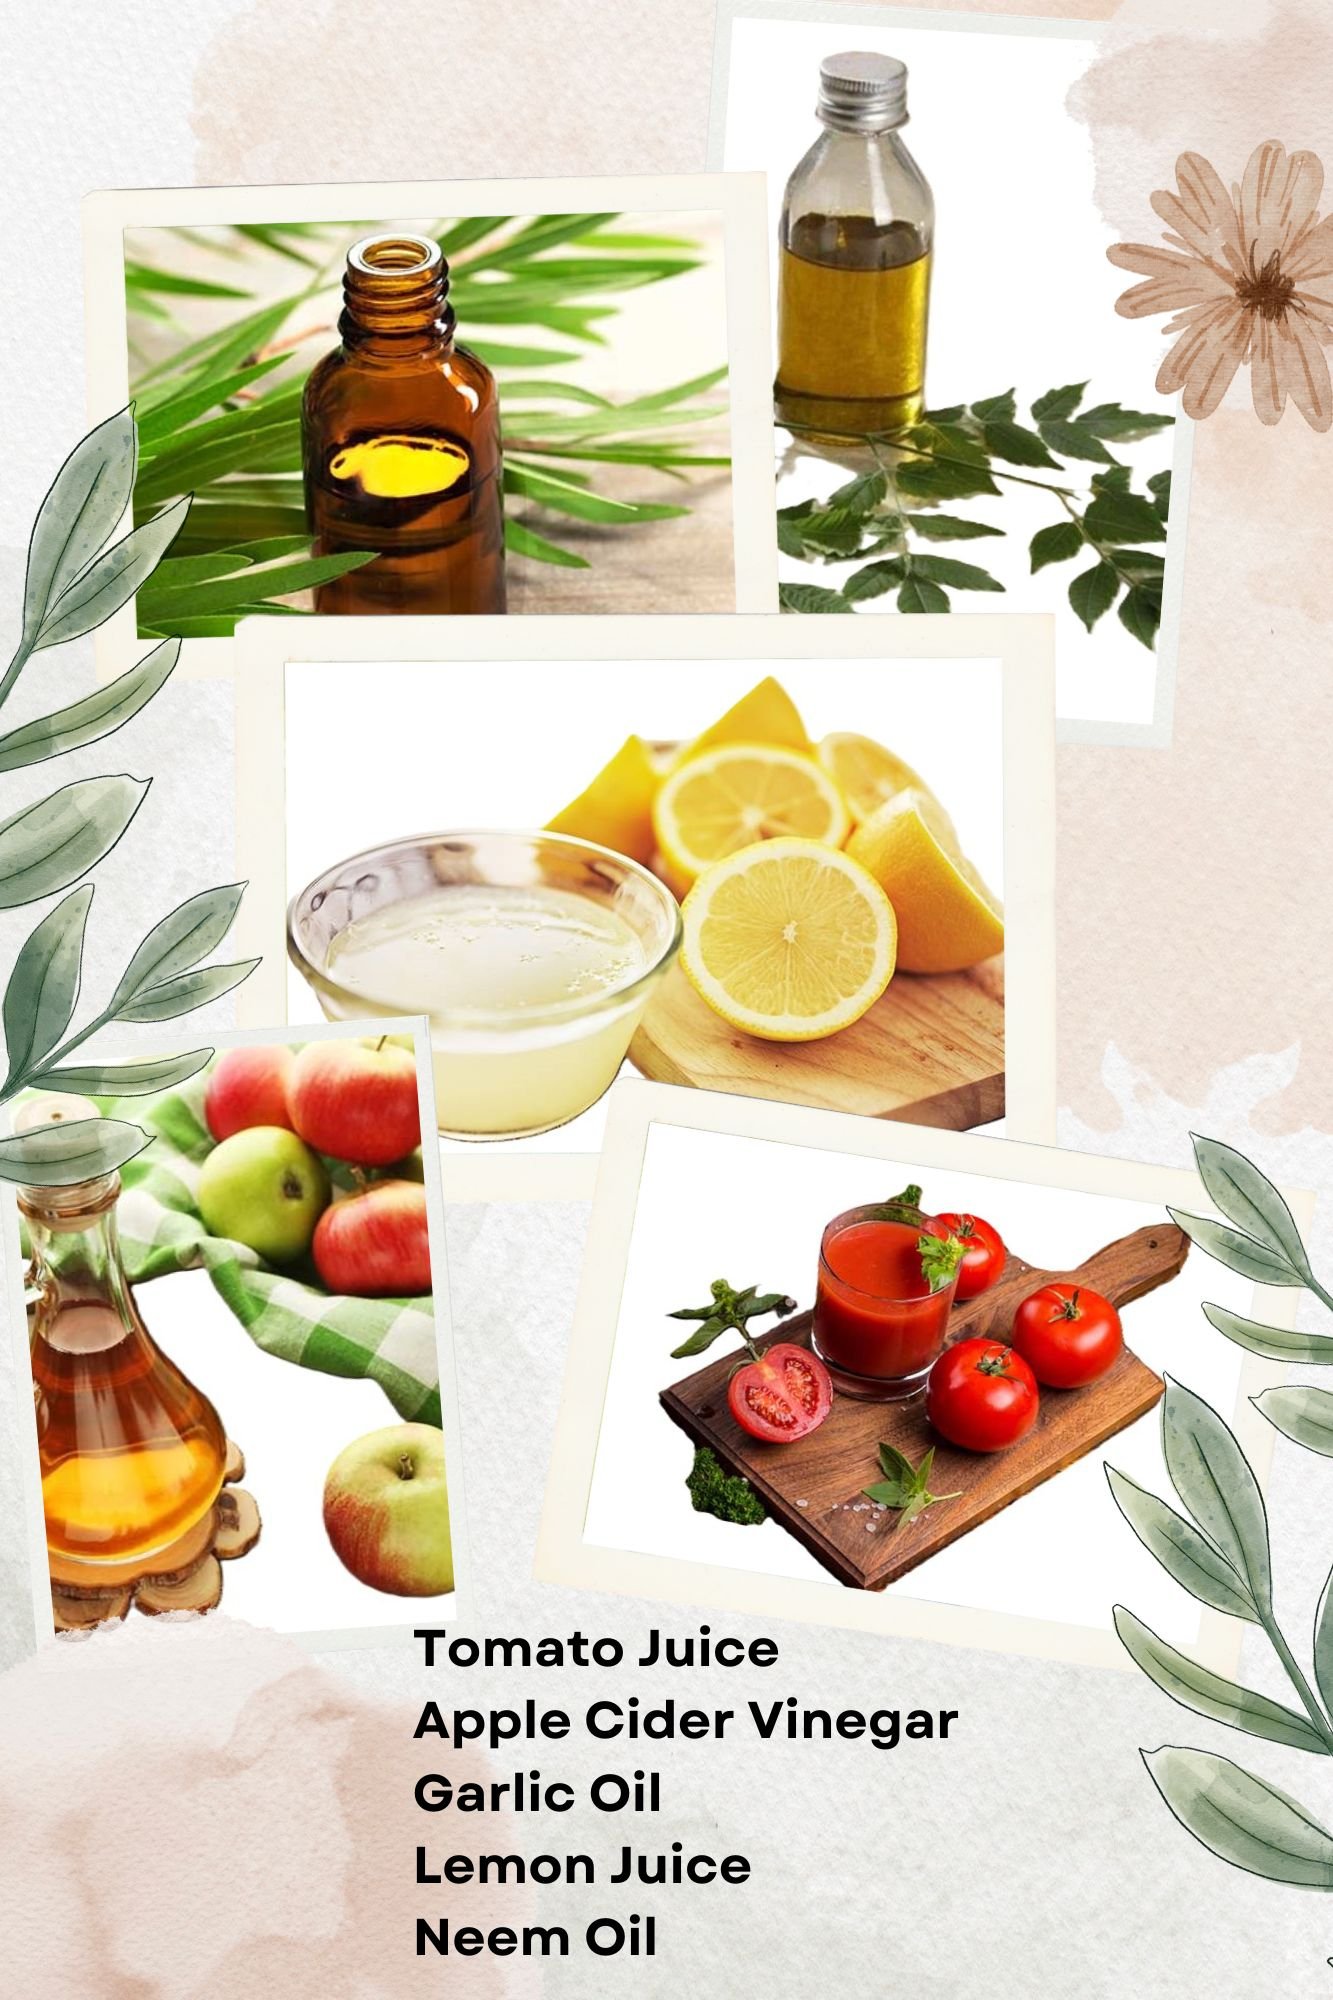
Essential Oils

    a) Tea Tree Oil

    Freshen your hair with tree tea oil that has a pleasant smell. Also, its antimicrobial properties will control the microbes causing a bad smell from your scalp.

    How To:

    • Mix 6 drops of tea tree oil with 1-2 tsp of jojoba or sweet almond oil
    • Blend the oils well and apply the mixed oil to your scalp and hair
    • Leave the oil on your scalp for at least 30 minutes
    • Rinse your hair and scalp with lukewarm water
    • Do it 1-2 times daily for better results

    b) Neem Oil

    Neem oil has excellent antimicrobial properties that will eliminate the microbes continuously replicating on your scalp and causing a bad smell.

    How To:

    • Mix 5-6 drops of neem oil with 1-2 tsp of carrier oil of your choice
    • Blend the oils well and apply the mixed oil to your scalp and hair
    • Allow 30 minutes for the antimicrobial neem oil to work on your scalp
    • Rinse your scalp and hair with lukewarm water
    • Do it 1-2 times daily to get good results

    Note: You should choose a carrier oil … Read More

    5 Makeup Tips For Your Old Mascara Wand

    Makeup Tips For Your Old Mascara Wand

    What do you of the mascara wand once the mascara is used up? If your answer is throwing the wand out then this blog is going to change your opinion forever. A mascara wand is a makeup accessory that you can use even when you aren’t using mascara. Or in other words, you can find more uses for the wand.

    Some Potential Makeup Tips for Uses Of Mascara Wand

    If you look at a wand, you will find that it is a handy tool that can be used for grooming eyebrows, setting dry hair, exfoliating lips, and improving your eyelashes. And you can use your old mascara wands without any training. But you need to sanitize the wand properly before it is made to use.

    Here’re 5 makeup tips for uses of your old mascara wands

    Brush Your Eyebrows

      Thinking of throwing your old mascara wand just because you haven’t used it for a long time! If yes, then think again as it can still be used for makeup especially grooming your eyebrows. Whether you want to apply brow gel to your eyebrows or simply want to brush the eyebrow hair to get neat and tidy eyebrows, your old mascara wand is the right tool for the job. A mascara wands can help in softening the harsh edges and lines of the eyeshadow. In this way, you can make your eyebrows look natural.

      How To:

      • Sanitize your old mascara wand with a detergent solution or alcohol
      • Load up the mascara wand with a brow gel of your choice or Vaseline
      • Gently brush your eyebrows with the mascara wand after makeup
      Or
      • Treat your eyebrows with a dark brown powder or dark brown eyeshadow
      • Groom your eyebrows with your mascara wand and soften your … Read More

      Lipstick: The Right Way Of Application And Removal

      The Right Way Of Lipstick Application

      Coloring lips is part of makeup, but few women know how to color lips so they look supple and healthy. What most women do is simply choose a lipstick preferably of rich color and apply it directly. This blog will help you to learn the right way of application and removal of glossy lipstick.

      Your lipstick could look messy and it could bleed to your teeth if it is applied without a proper base. Also, you should know how to choose the right lipstick. You need to consider the type and color of your lips before choosing lipstick.

      Here’s the complete tutorial of application and removal of glossy lipstick

      Get The Essentials

      • Lip Balm/Lip Conditioner
      • Lip Liner
      • Concealer
      • Compact Powder
      • Lipstick

      Bring all the essentials to your dressing table and start coloring the lips in the following manner:

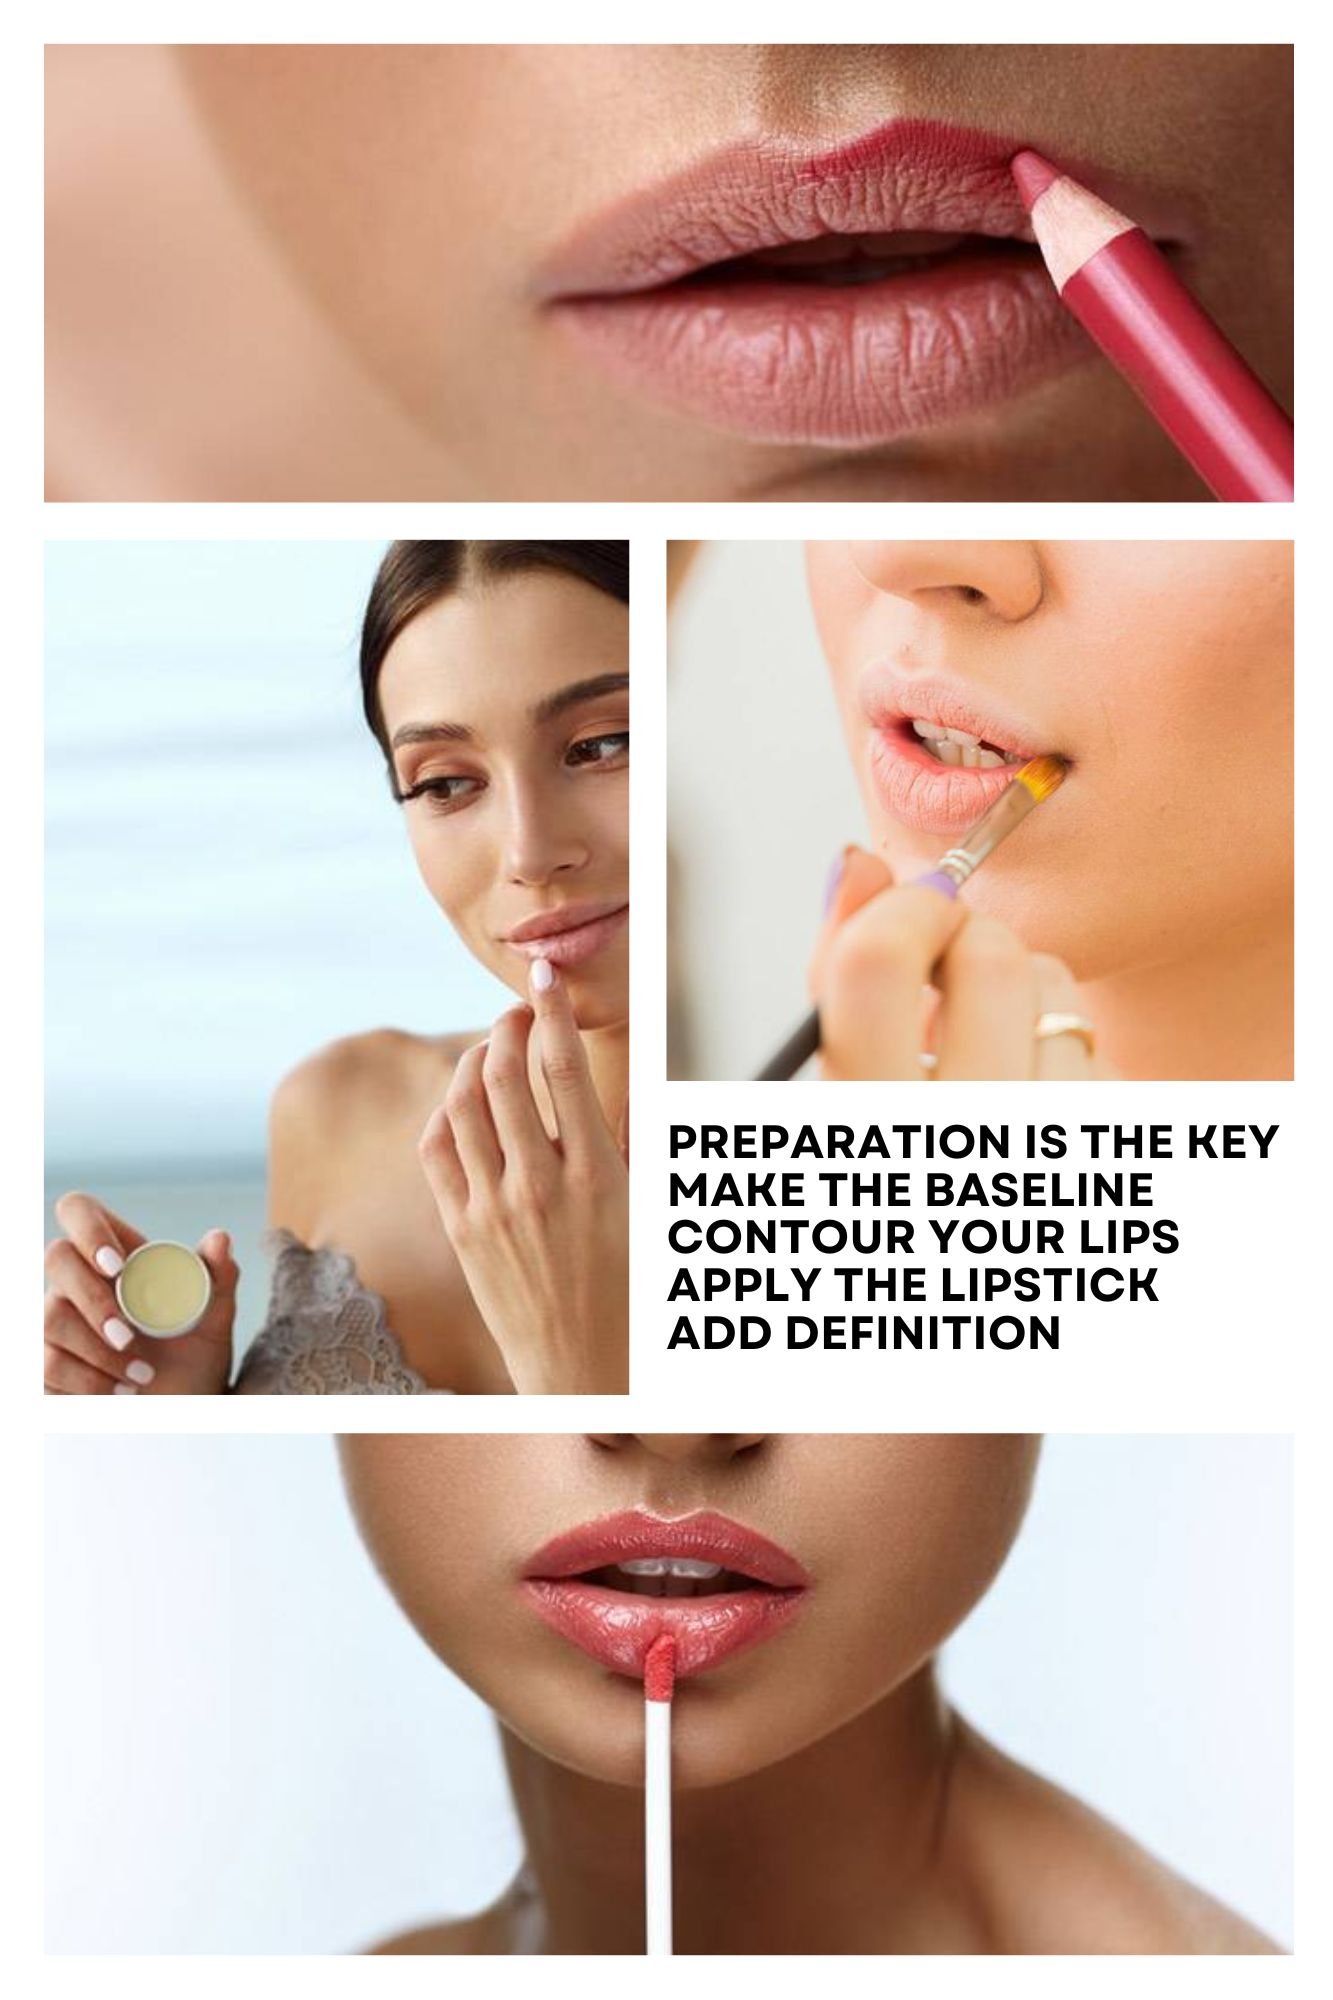
      First Step: Preparation Is The Key

      Prepare your lips by first exfoliating them with a soft and damp brush and then hydrating them with a nourishing lip balm so they become soft and supple. If you apply a lip primer after the treatment, the lipstick will stay longer and won’t bleed.

      Second Step: Make The Baseline

      The lipstick could sink in your lips if you don’t make a base with a concealer and compact powder. First, apply a concealer of the shade of your lips and then seal it with the powder to provide a firm base to your lipstick.

      Third Step: Contour Your Lips

      Take a lip liner and start defining your natural lip. Also, reshape and perfect the contours of your lips to prevent your lip color from getting messy. It will give you a more defined and polished look. Choose a … Read More

      15 DIY Lip Balms You Can Make At Home

      Lip Balms You Can Make At Home

      Do you know it is easy to make a nourishing lip balm at home? Also, you can use the ingredients easily available at home while preparing homemade lip balm. You need coconut oil, beeswax, and cocoa butter that have excellent SPF properties. Also, you can add camphor and menthol to ease pain and dryness.

      Here’re 15 DIY ways of making homemade lip balm

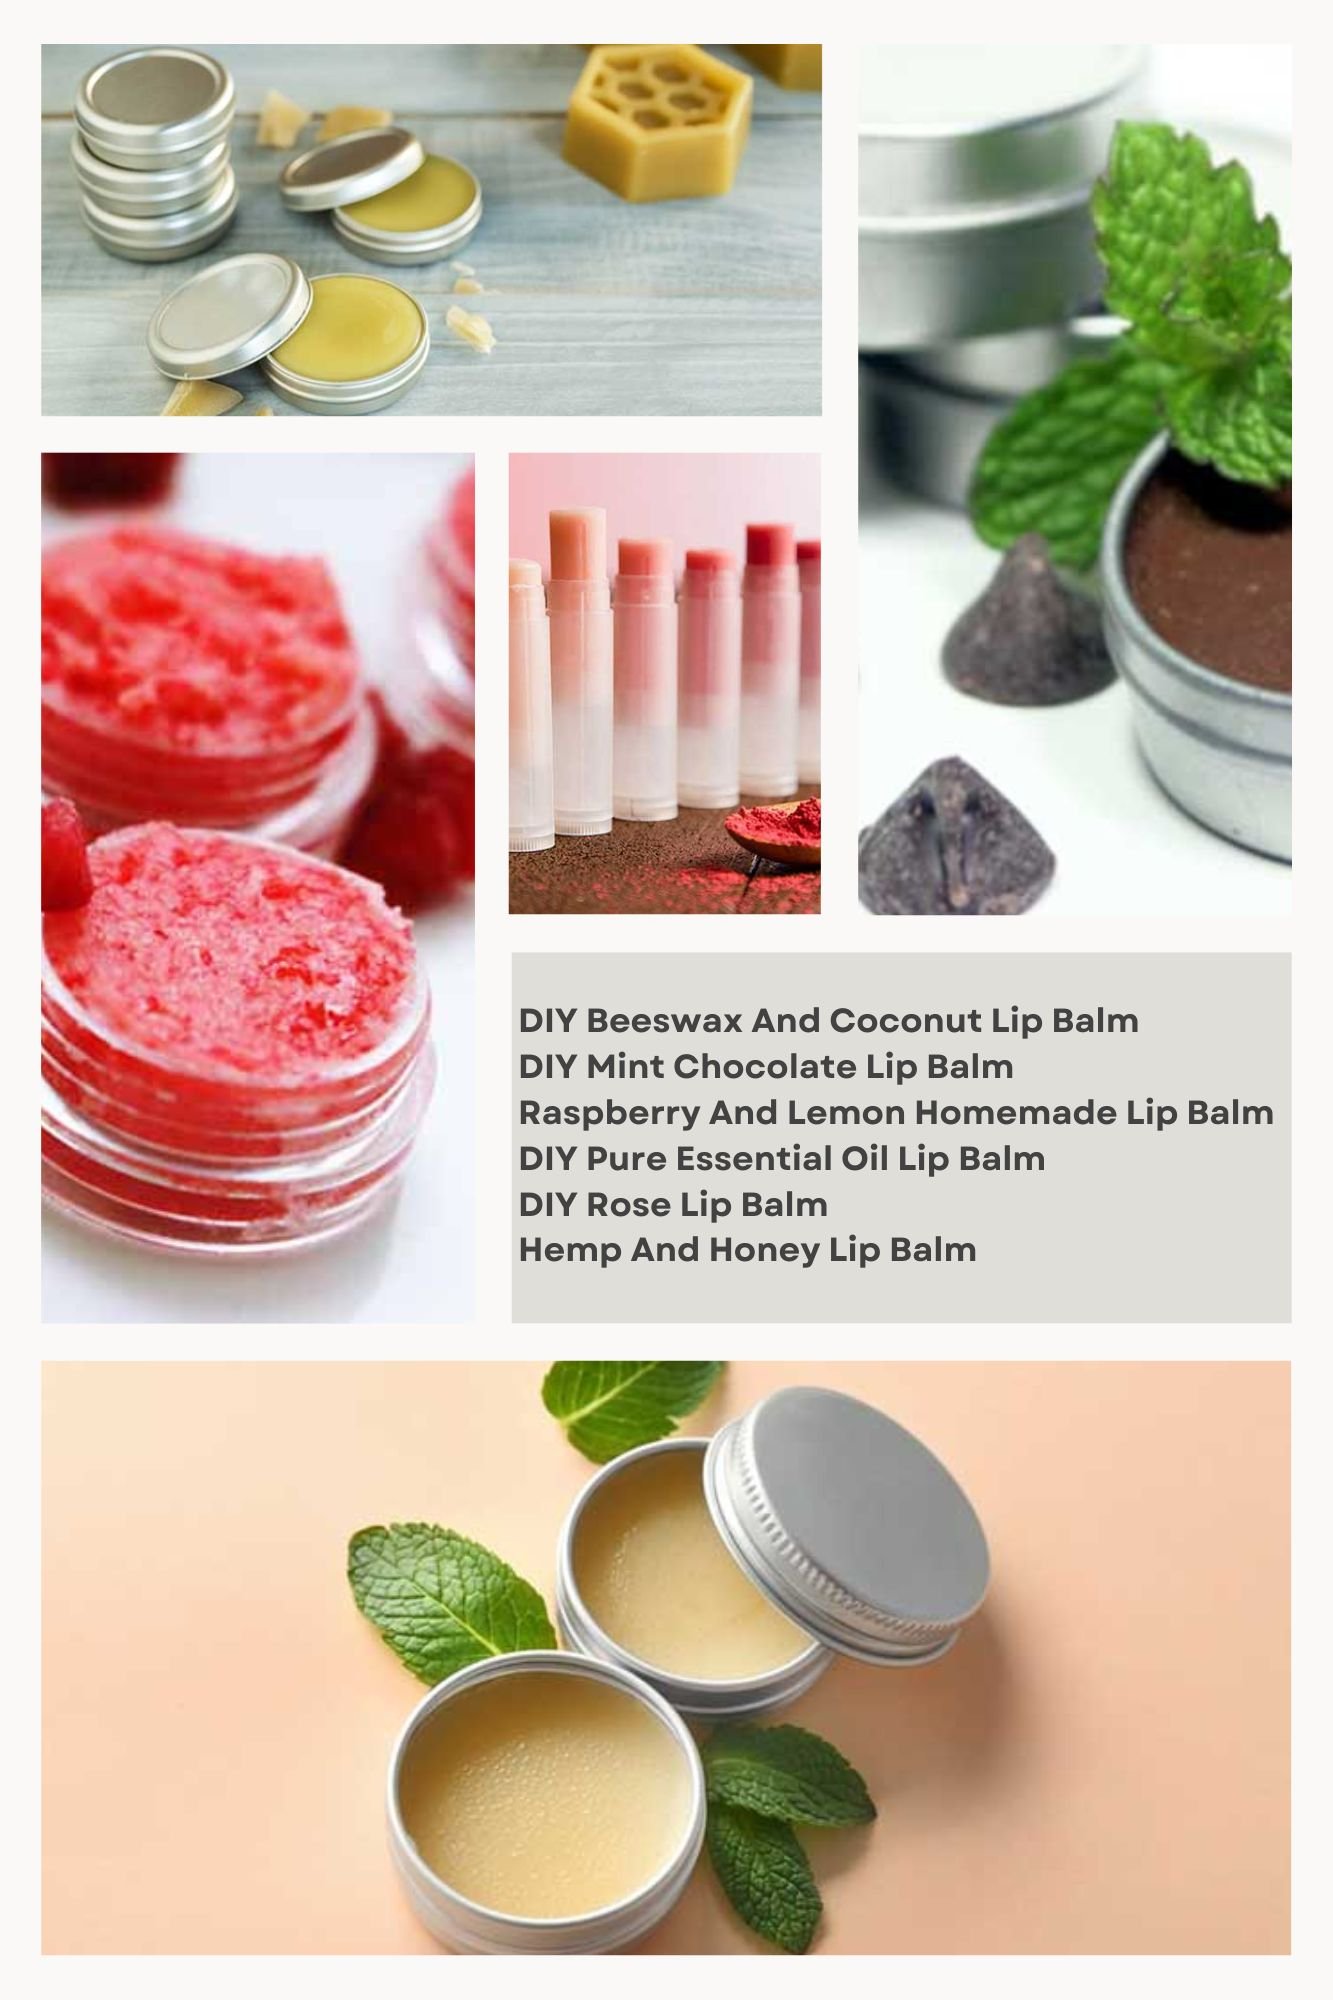
      DIY Beeswax And Coconut Lip Balm

      Ingredients:

      • Grated Beeswax – 1 tsp
      • Extra Virgin Coconut Oil – 1 tsp
      • Organic Raw Honey – ½ tsp
      • Vitamin E – 2 capsules

      How To:

      • Melt the grated beeswax
      • Add coconut oil and honey to it when it’s about halfway
      • Blend the ingredients before adding vitamin E oil
      • Let it cool and keep in a safe container

      DIY Mint Chocolate Lip Balm

      Ingredients:

      • White Beeswax Pellets – 2 tsp
      • Cocoa Powder – 1 tsp
      • Sweet Almond Oil – 2 tsp
      • Peppermint Oil – 4-5 drops

      How To:

      • Melt the beeswax pellets and add cocoa powder to it when it’s about halfway
      • Stir the ingredients until it becomes a smooth solution
      • Add sweet almond oil and peppermint oil while stirring the balm
      • Pour it into a container when cooled for use

      Raspberry And Lemon Homemade Lip Balm

      Ingredients:

      • Raspberry Gelatin Mix – 2 tsp
      • Virgin Coconut Oil – 2 tsp
      • … Read More

      Kaya’s 11 Most Popular Beauty Treatments

      Kaya’s Most Popular Beauty Treatments

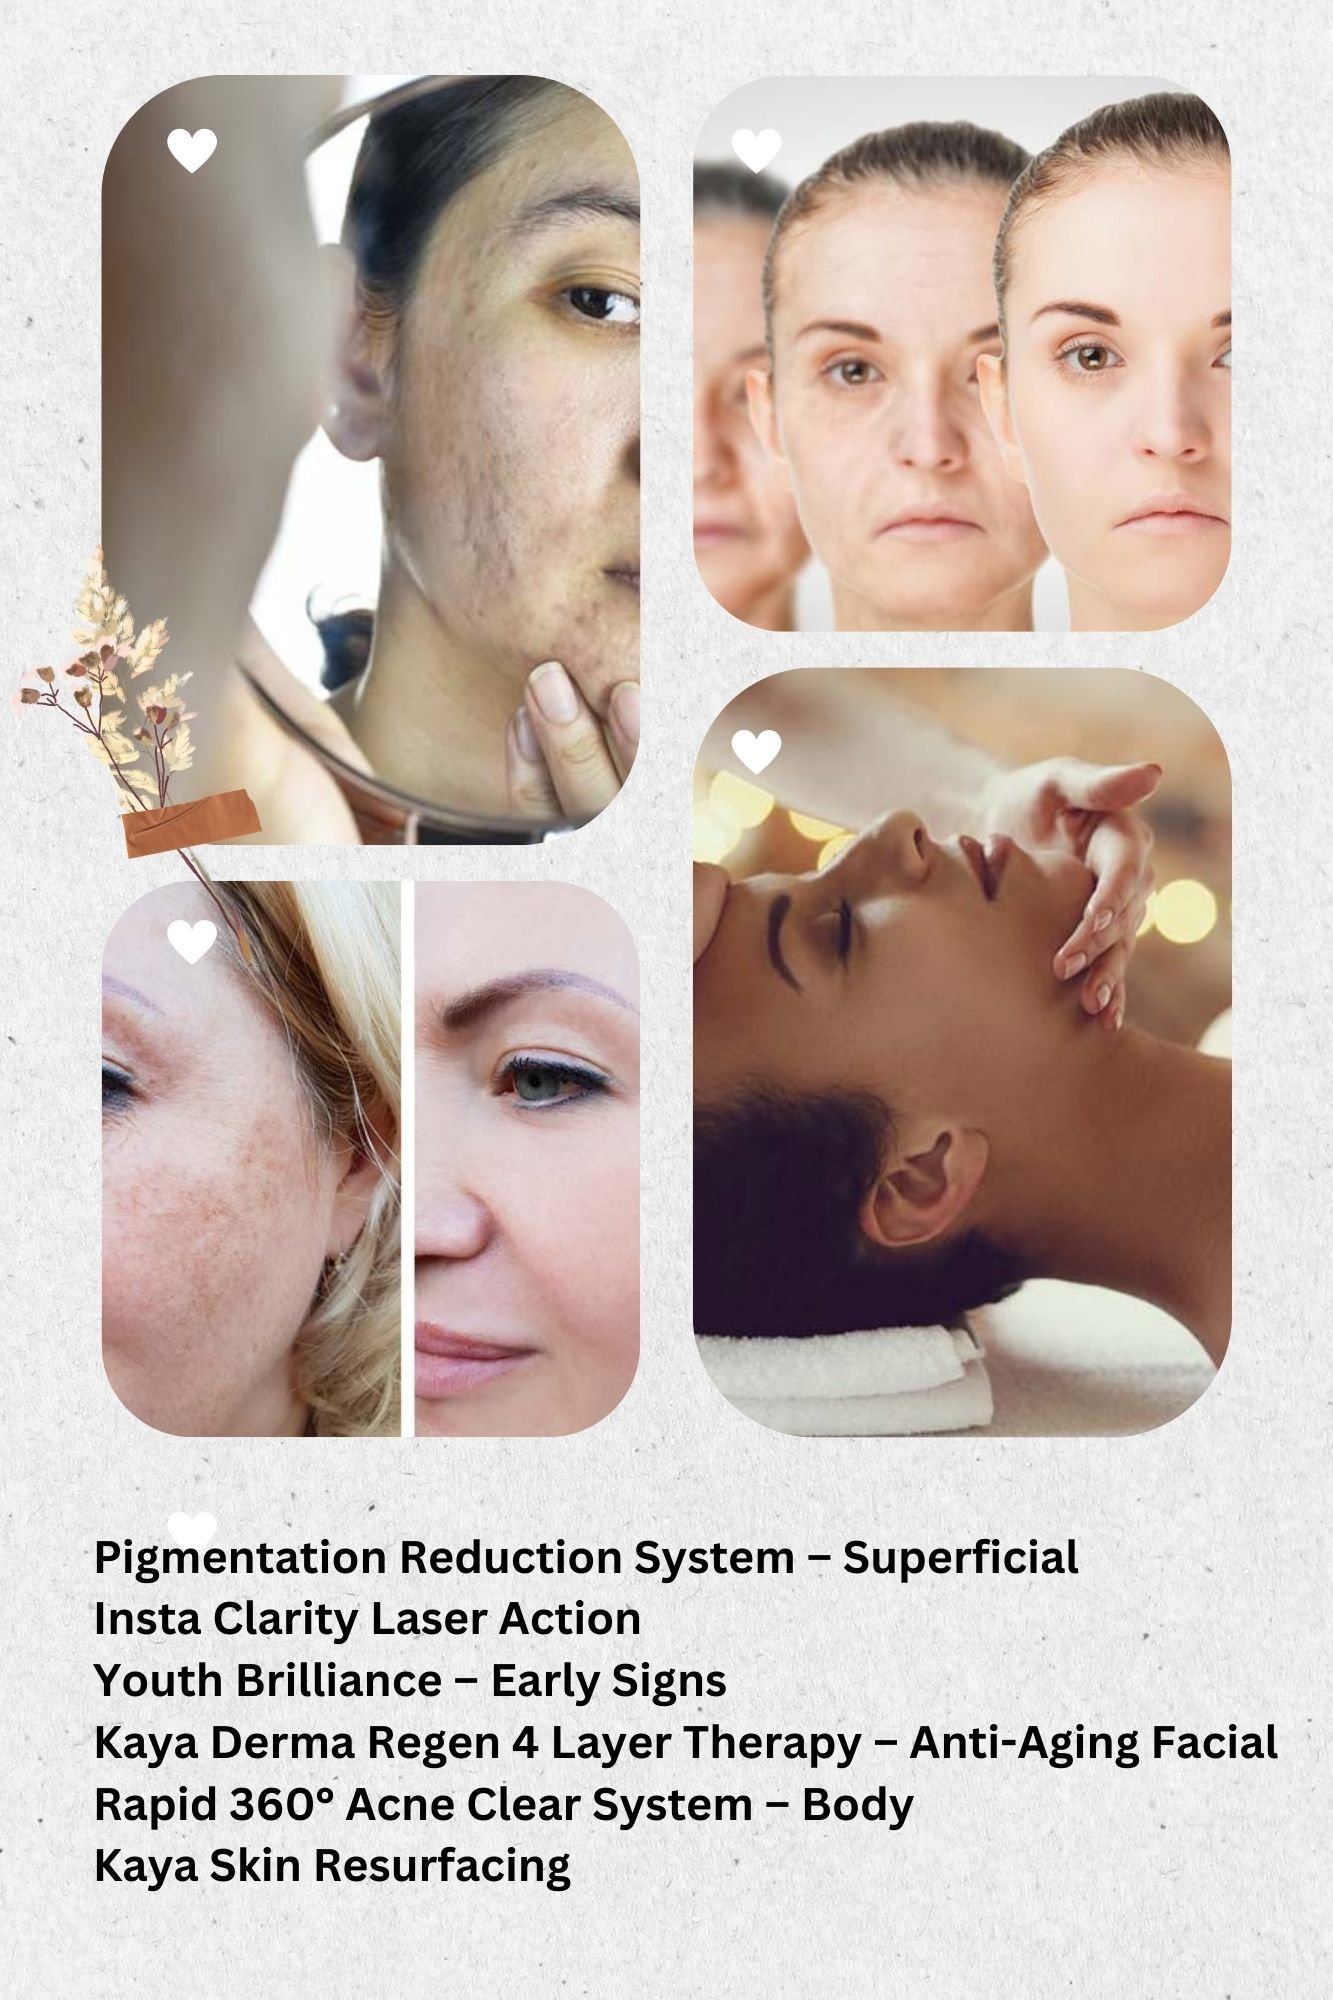
      If you are looking for skin care treatment, Kaya Skin Clinic’s customized treatment options could help maintain a youthful appearance even at an advanced age. These are in-clinic services provided by seasoned dermatologists and therapists

      Pigmentation Treatment

      Pigmentation Reduction System – Superficial

        This treatment is designed for curing dark spots, age-related spots, and other pigmentation issues. Products used for treatment are produced with carefully chosen ingredients.

        • An Intense Clarity peel containing botanical extracts with excellent de-pigmentation properties
        • Enhanced skin regeneration improves skin tone
        • Botanical extracts reduce excess melanin production

        Kaya offers a cream containing phytic and azelaic acid that is good for your skin. You can buy the product for use at home and get results within two weeks.

        Insta Clarity Laser Action

          Kaya presents Insta Clarity Laser (Q-Switch Laser) therapy to remove unwanted spots and get clear and radiant skin. It is a quick action formula to get desired results.

          • An invisible beam of laser targets the excess melanin and dark spots
          • Gives clear skin in just one session

          Kaya’s Most Popular Beauty Treatments

          Kaya’s Most Popular Beauty Treatments

          Anti-Aging Treatment

          Youth Brilliance – Early Signs

            Control early signs of aging with the tri-active formula of the Intense Clarity Peel system developed by Kaya. It reduces fine lines and wrinkles, improves skin texture, and gives younger-looking skin.

            • Derma Peels: Exfoliate the skin to reduce uneven patches
            • Botanical Whitening Agents: Reduce age-related spots and pigmentation
            • Wrinkle Lift Mask: Makes skin firmer firm and smooth

            Kaya Derma Regen

            Read More

            11 Skin Lightening Face Masks You Can Make At Home

            Skin Lightening Face Masks You Can Make At Home

            If you are worried about your falling skin health like prominent acne marks and blemishes, then stop worrying and start caring for your skin. Take a nutritious diet and skin lightening treatment with ingredients like curd, turmeric, gram flour, and saffron.

            Here’re 11 Face Masks You Can Make At Home For Skin Lightening Treatment

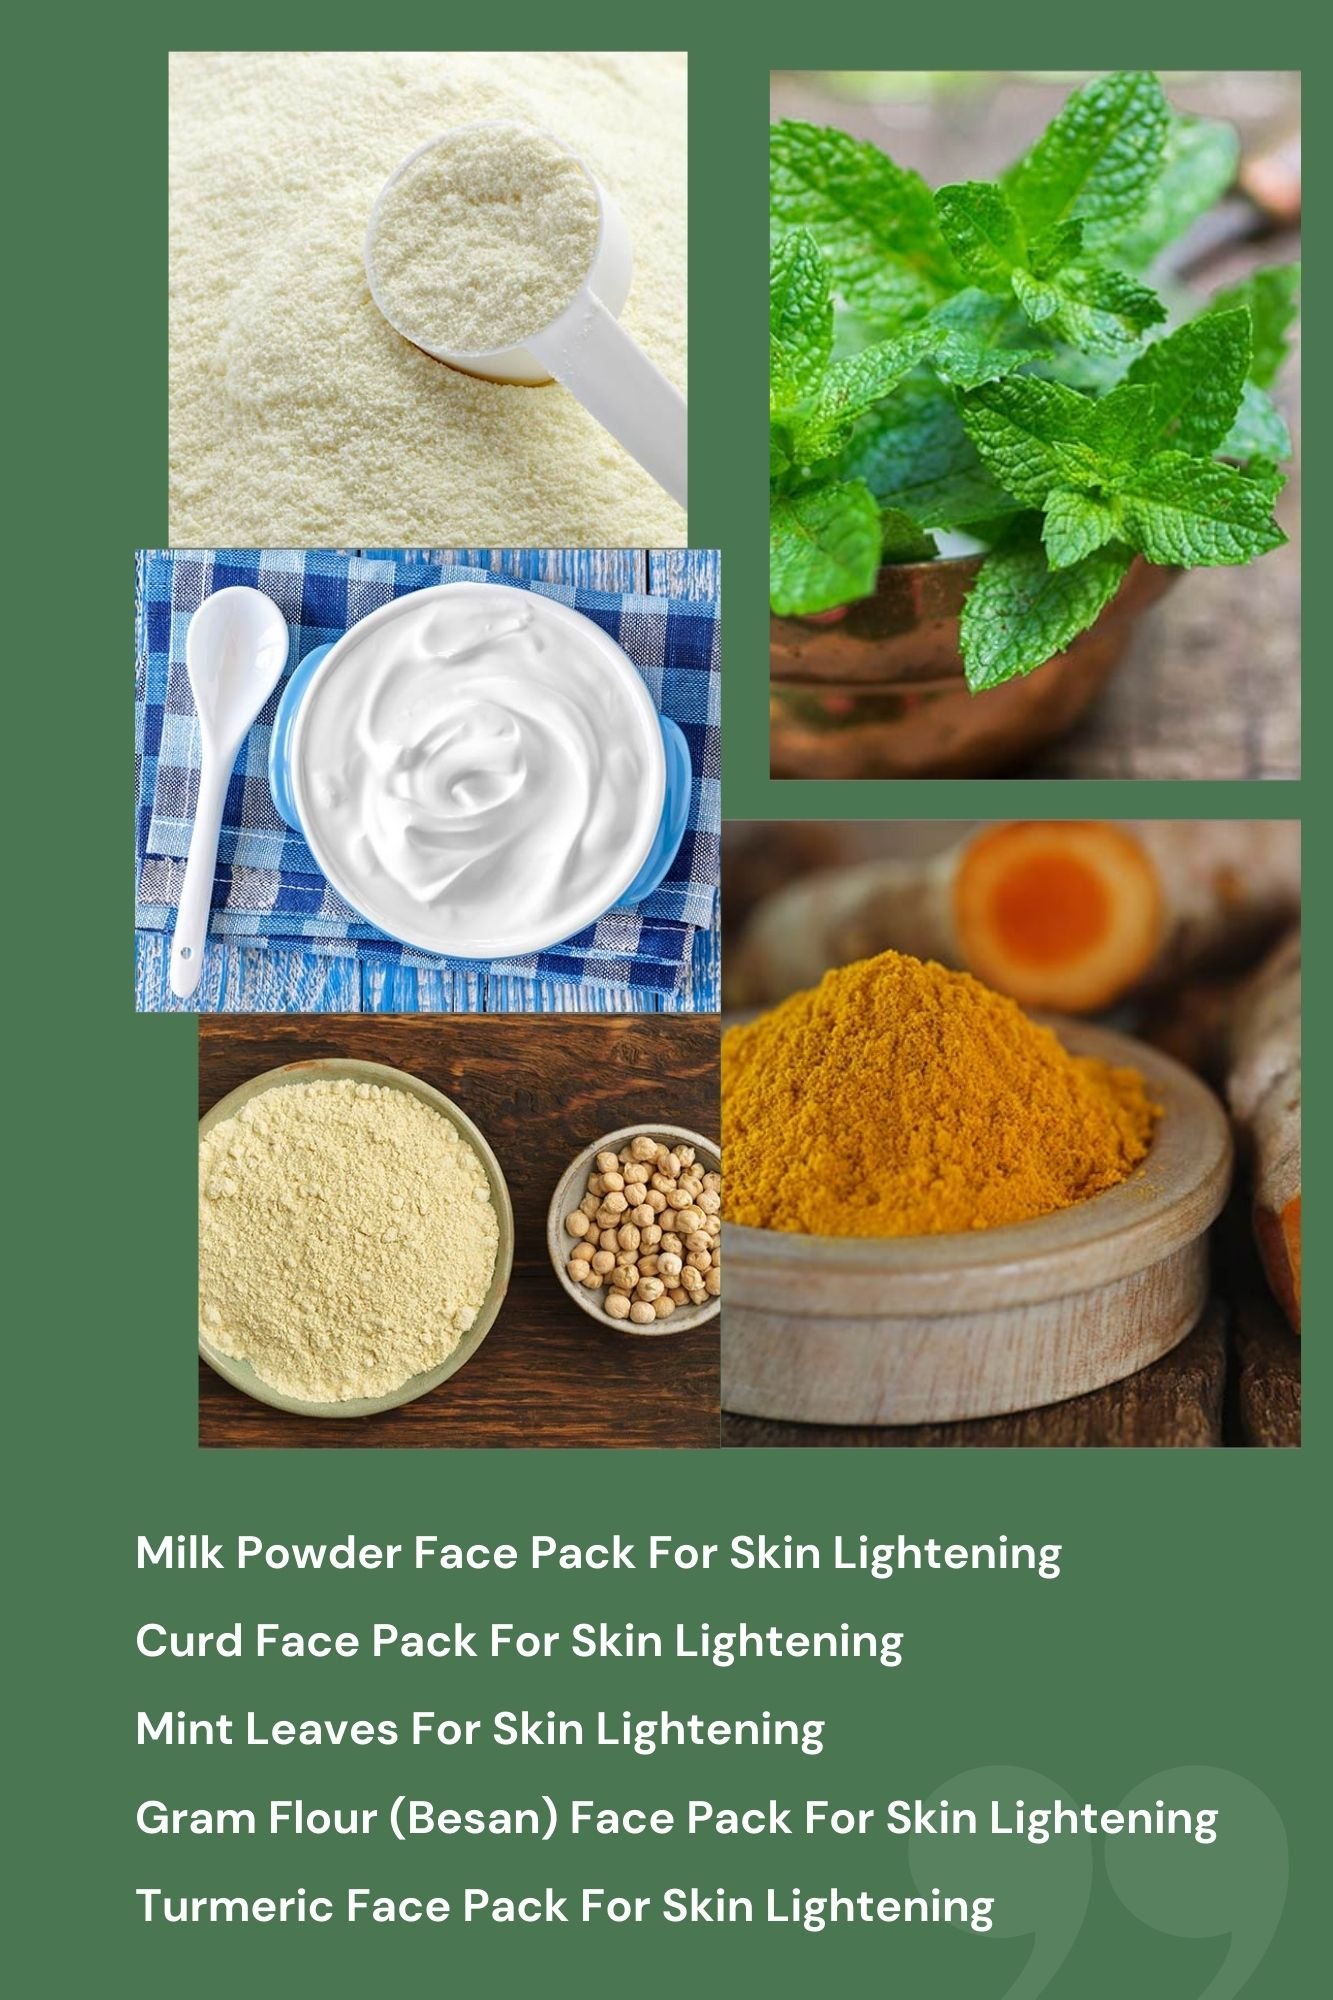
            Milk Powder Face Pack For Skin Lightening

            Ingredients:

            • Powdered Milk – 1tsp
            • Fresh Orange Juice – 1-2tsp
            • Colloidal Oatmeal – 1tsp

            How To:

            • Mix the ingredients into a paste
            • Wash your face and pat dry
            • Apply the paste to your face and neck
            • Leave it dry for 15 minutes
            • Rinse off with cool water
            • Do it 1-2 times a week

            Milk powder has lactic acid which is an excellent bleaching agent and orange juice contains vitamin C which can used as skin lightening treatment. The face mask will peel off dead cells and lighten the healthy cells.

            Curd Face Pack For Skin Lightening

            Skin Lightening Face Masks You Can Make At Home

            Skin Lightening Face Masks You Can Make At Home

            Ingredients:

            • Curd – 1tsp
            • Tomato Juice – 1tsp
            • Oatmeal – 1tsp

            How To:

            • Mix the ingredients into a paste
            • Wash your face and pat dry
            • Apply the paste to your face and neck
            • Leave it dry for 15 minutes
            • Rinse off with cool water
            • Do it 2-3 times a week

            Curd is a moisturizer and tomato and oatmeal work as exfoliatorsRead More

            5 Hydrating Face Packs For Dry Skin Treatment During Summer

            Hydrating Face Packs For Dry Skin

            Hot summer days could be harsh on your dry skin if you aren’t following a skincare routine suitable for hot-weather. You need face packs with good hydrating properties and high moisture content that have a calming and soothing effect on sensitive skin.

            If you have dry skin and you face problems like skin irritation and flaky skin during summer then this blog is useful for you. Here you will learn about hydrating face masks you can prepare at home and get the treatment that is both safe and fruitful.

            What Causes Skin Problems During Summer?

            Dryness under the cumulative effect of UV sun rays, dirt, and pollution could develop cracks and fine lines on the skin. The skin will become flaky and your face will appear dull and irritable. Sunscreen can provide some protection but it is better to take some extra care of the skin to prevent issues like redness.

            Hydrating Face Packs For Dry Skin

            The objective of wearing hydrating face packs is to keep the skin soft and supple during the hot-weather season. And the advantage of these face masks is that they can be prepared and used at home. Here you will get a complete tutorial on how a moisture-rich face mask is prepared and used.

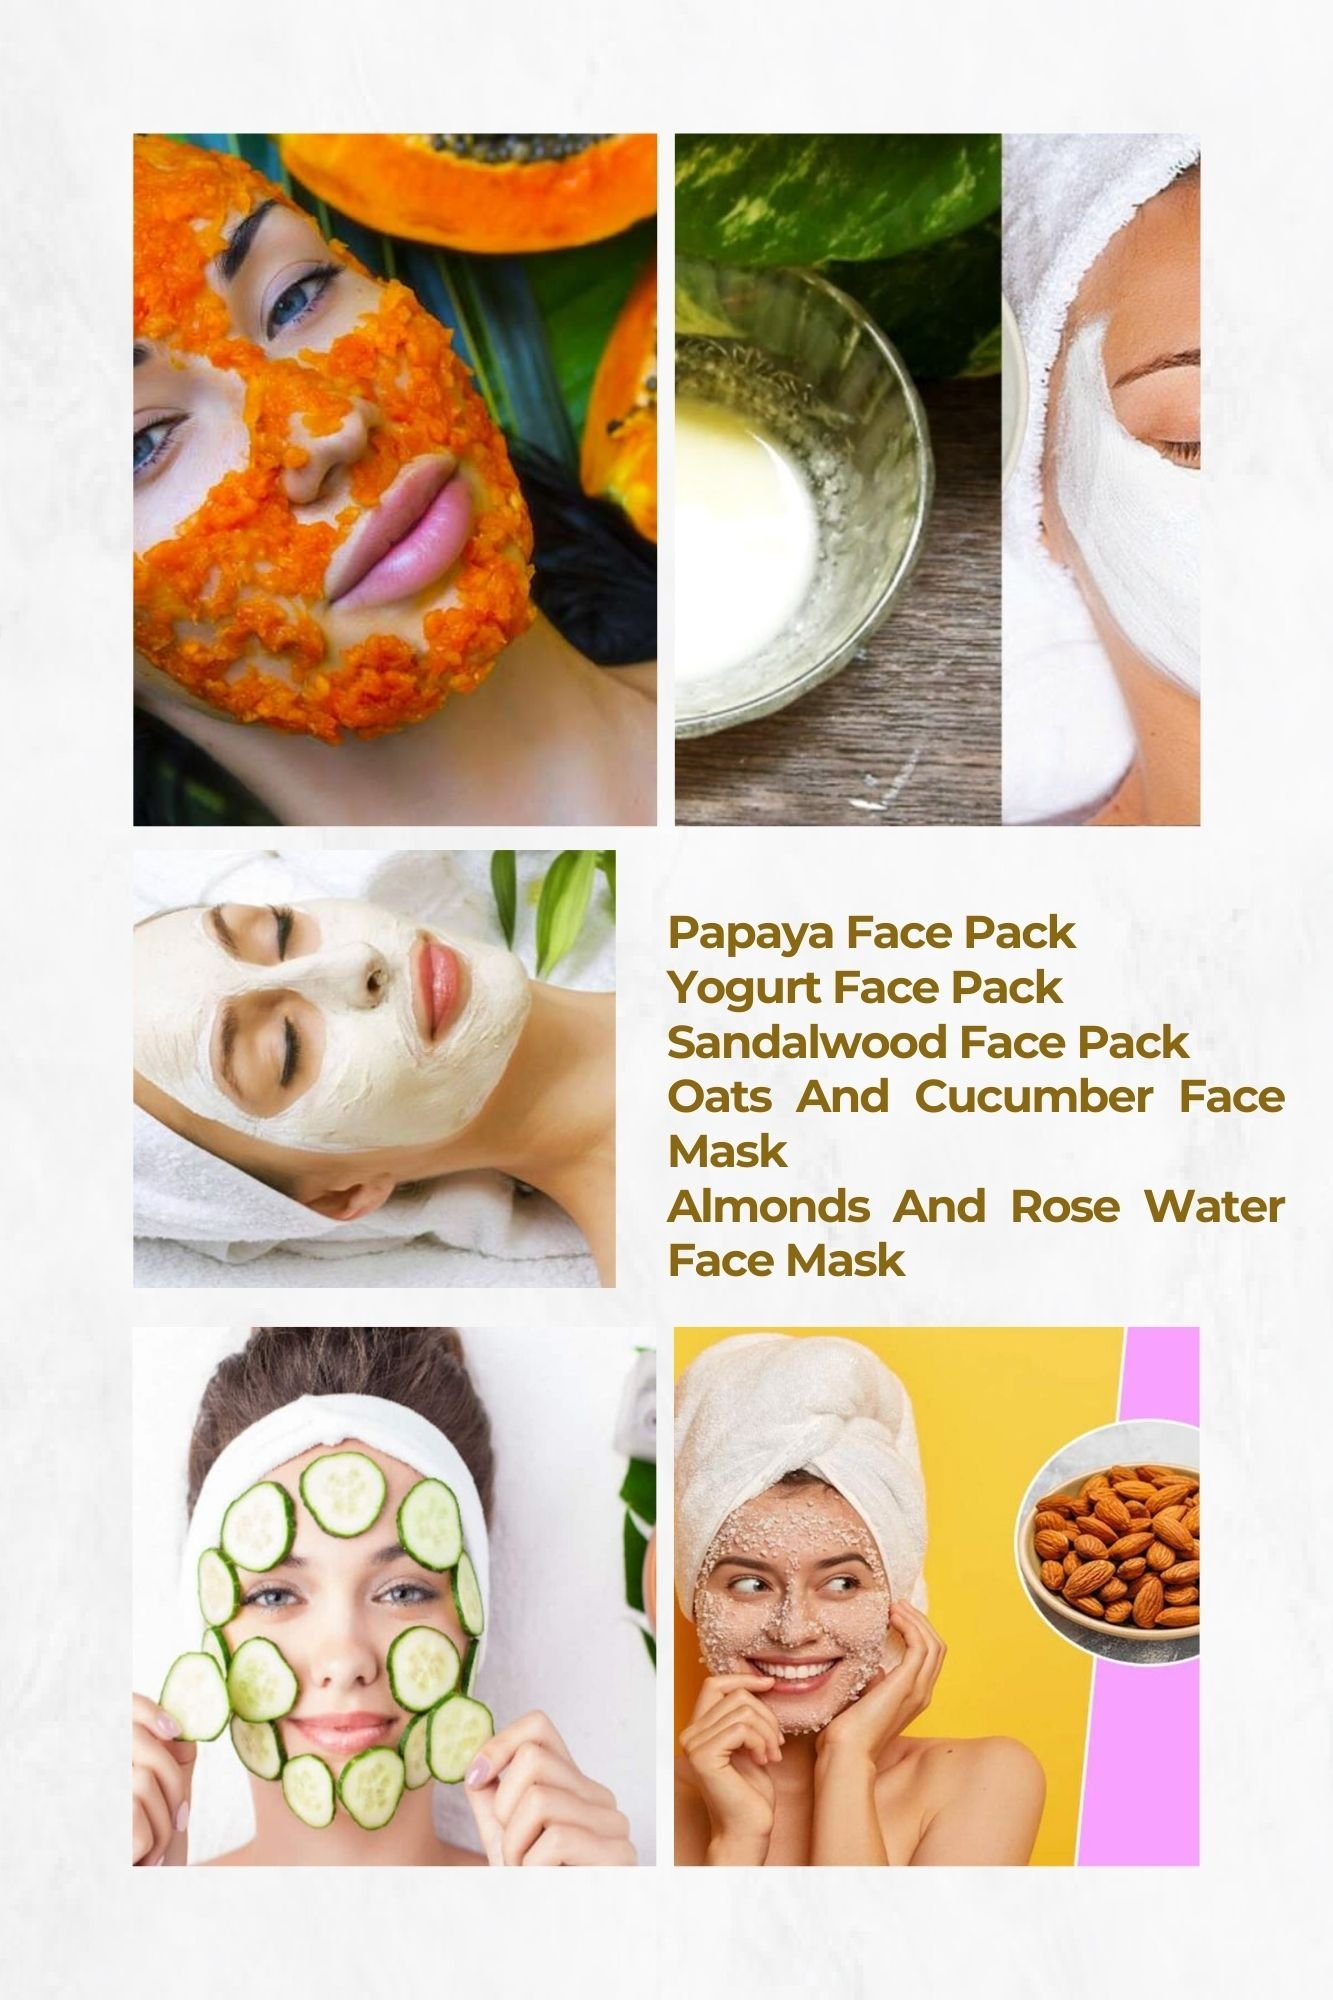
            Papaya Face Pack

              Papaya pulp contains vitamins A and C. Also, this sweet pulp is rich in antioxidants. It is these properties that make papaya great for skin health. In addition to hydrating your skin, it will prevent the development of premature aging signs like wrinkles. But the best thing about the papaya mask is it doesn’t require additional ingredients. It is a single mask that is quite effective on dry skin.

              How To:

              • Peel a papaya to draw its pulp in a … Read More

              Use These 5 Home Remedies To Lighten Darker Inner Thighs In One Week!

              Simple Home Remedies To Lighten Darker Inner Thighs

              If you are looking for best home remedies to lighten dark inner thighs overnight then you reached on the best page. Here, we will talk about only expert’s recommended and safest remedies that will make you happy with results nor stressed with side effects.

              Are you ready for tips to lighten inner thighs overnight?

              Well, before telling you about tips, first you should know about the causes of darker inner thighs so you can know which remedy suits you the best.

              What are the causes of darker inner thighs?

              Darker inner thighs mainly happen when your skin extremely dry and it is not producing melanin. Skincare experts recommend this situation as a hyperpigmentation state, where skin stops its production for melanin hormone.

              You need to keep in mind here we are not talking about those who have darker skin complexion, it is your genes. But the people who have a fair complexion and experiencing darker thighs then they must look at the following reasons:

              • Dry skin

              • Sun exposure

              • Rubbing the thighs while exercising

              • Hyperpigmentation

              • Side effects of taking medications

              Here’s what you’ll need to do for recur complexion

              1. Coconut Oil & Lemon Juice

              Both these ingredients are superb to hydrate skin cells and remove pigmentations. It acts as a collagen booster that works great to repair all damaged cells and tissues. To use this remedy, first mix both ingredients in a container and apply it on thighs for 15 minutes.

              2. Aloe Vera

              One of the unique and best home remedies to brighter and beautiful skin. All you need to apply the aloe vera gel and let it soak. This has aloin acid, which works wonder to recur skin complexion and boost complexion.

              3. Masoor Dal

              Well, it may be wired to hear, but it is also the best home remedy for … Read More